
Skip to content
New

Your dashboard is here — every conversation, every lead it captured, and what people keep asking about.

Take a look →

Installation

Copy the snippet, paste it into your site-wide code area, publish. Step-by-step guides for WordPress, Wix, Squarespace, Webflow, Shopify and plain HTML.
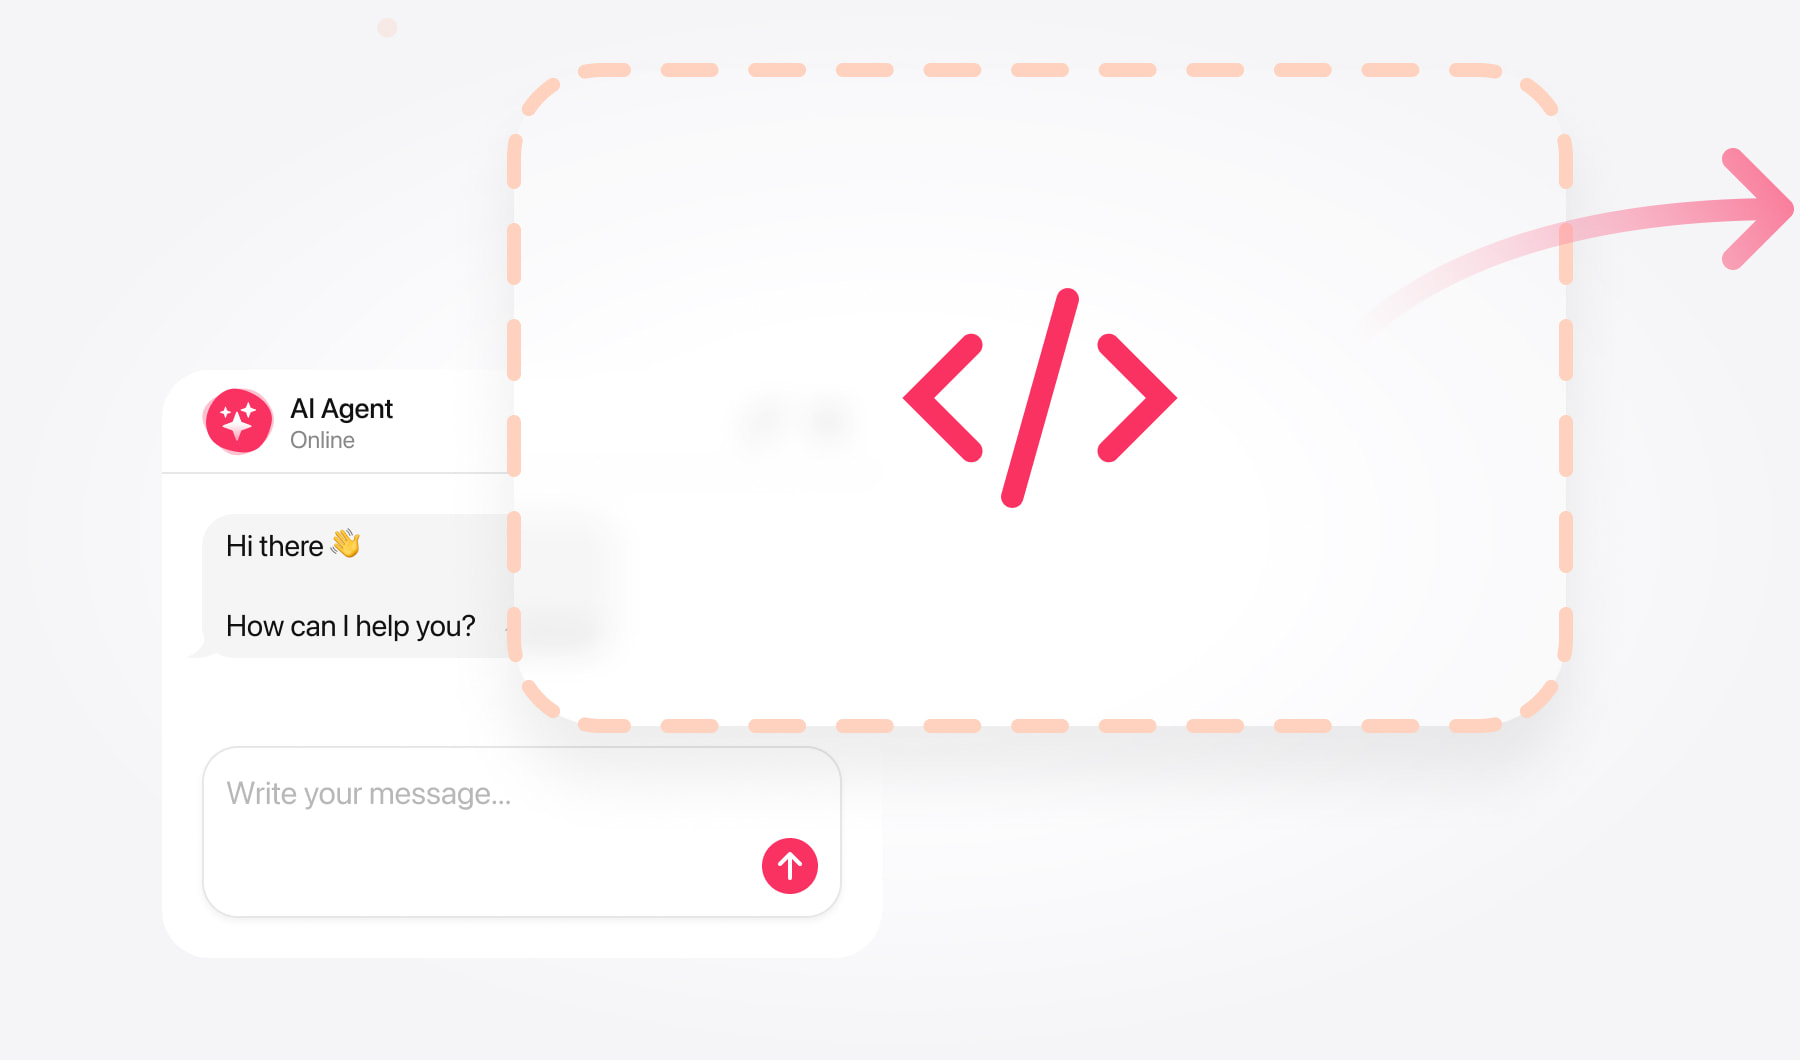
  1. Copy the AI Chatbot embed code
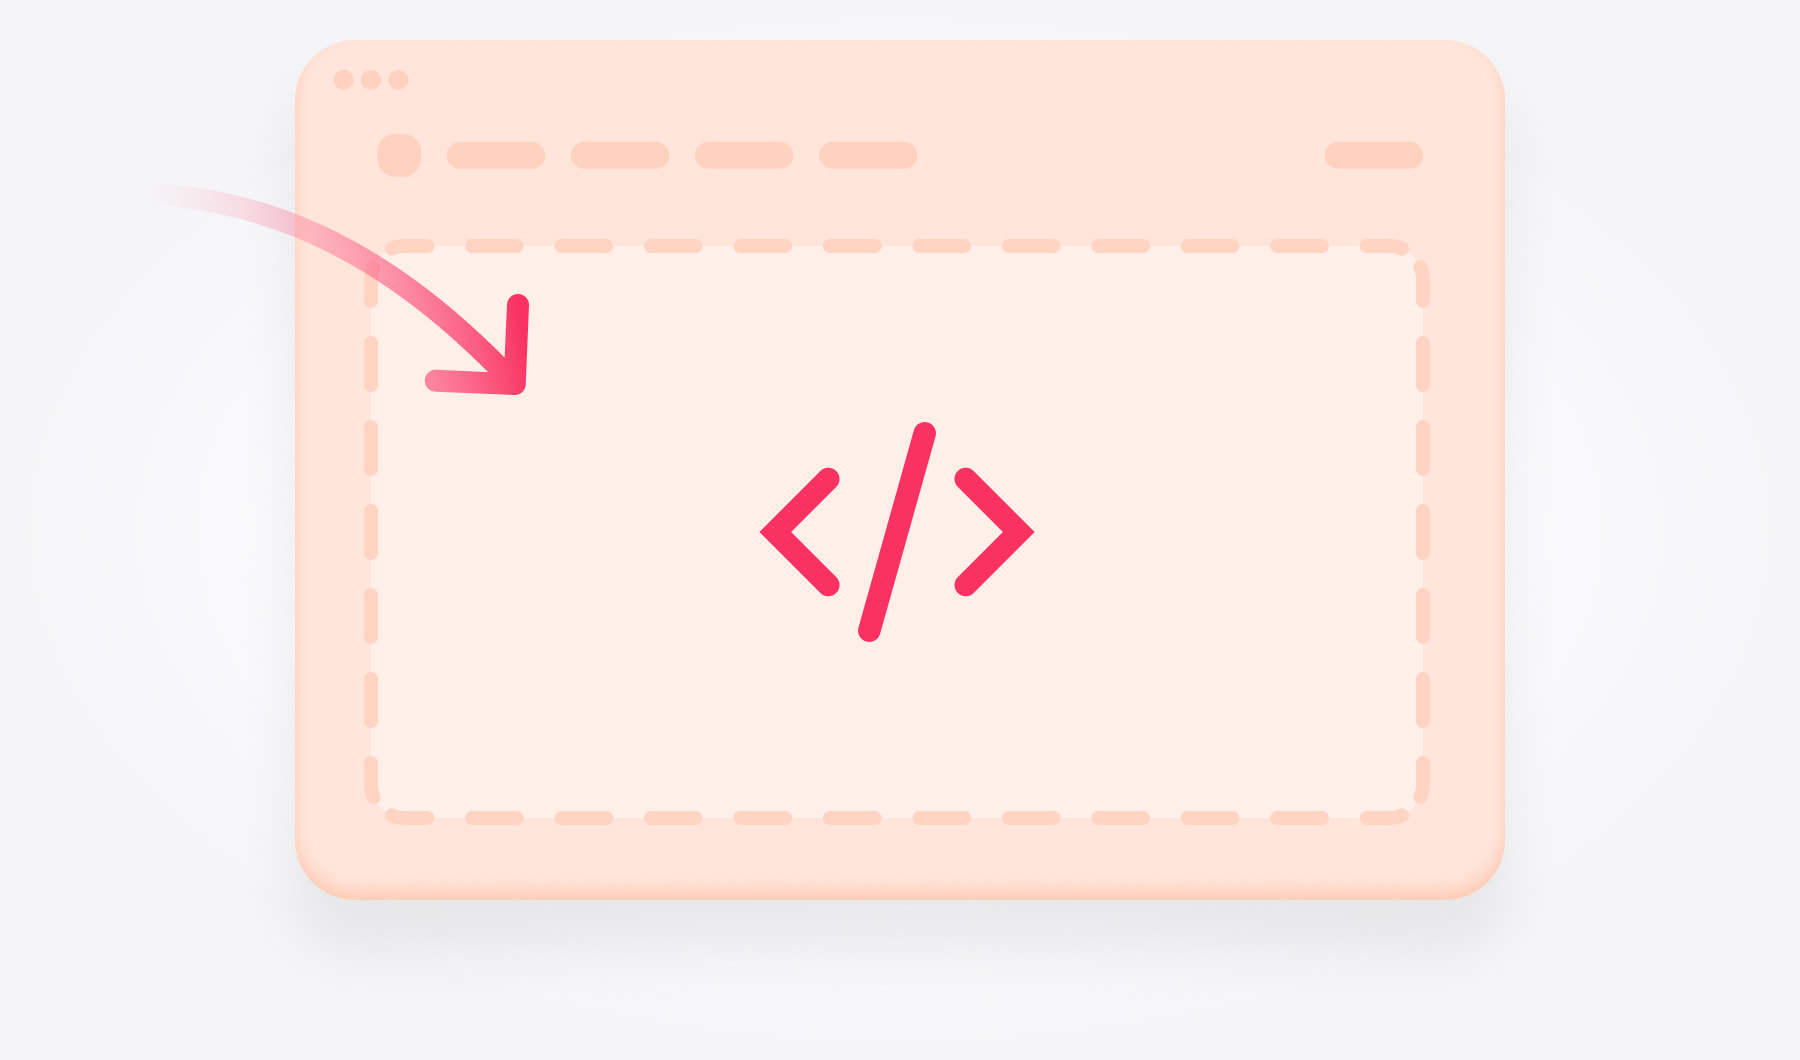
  2. Paste the code into your site
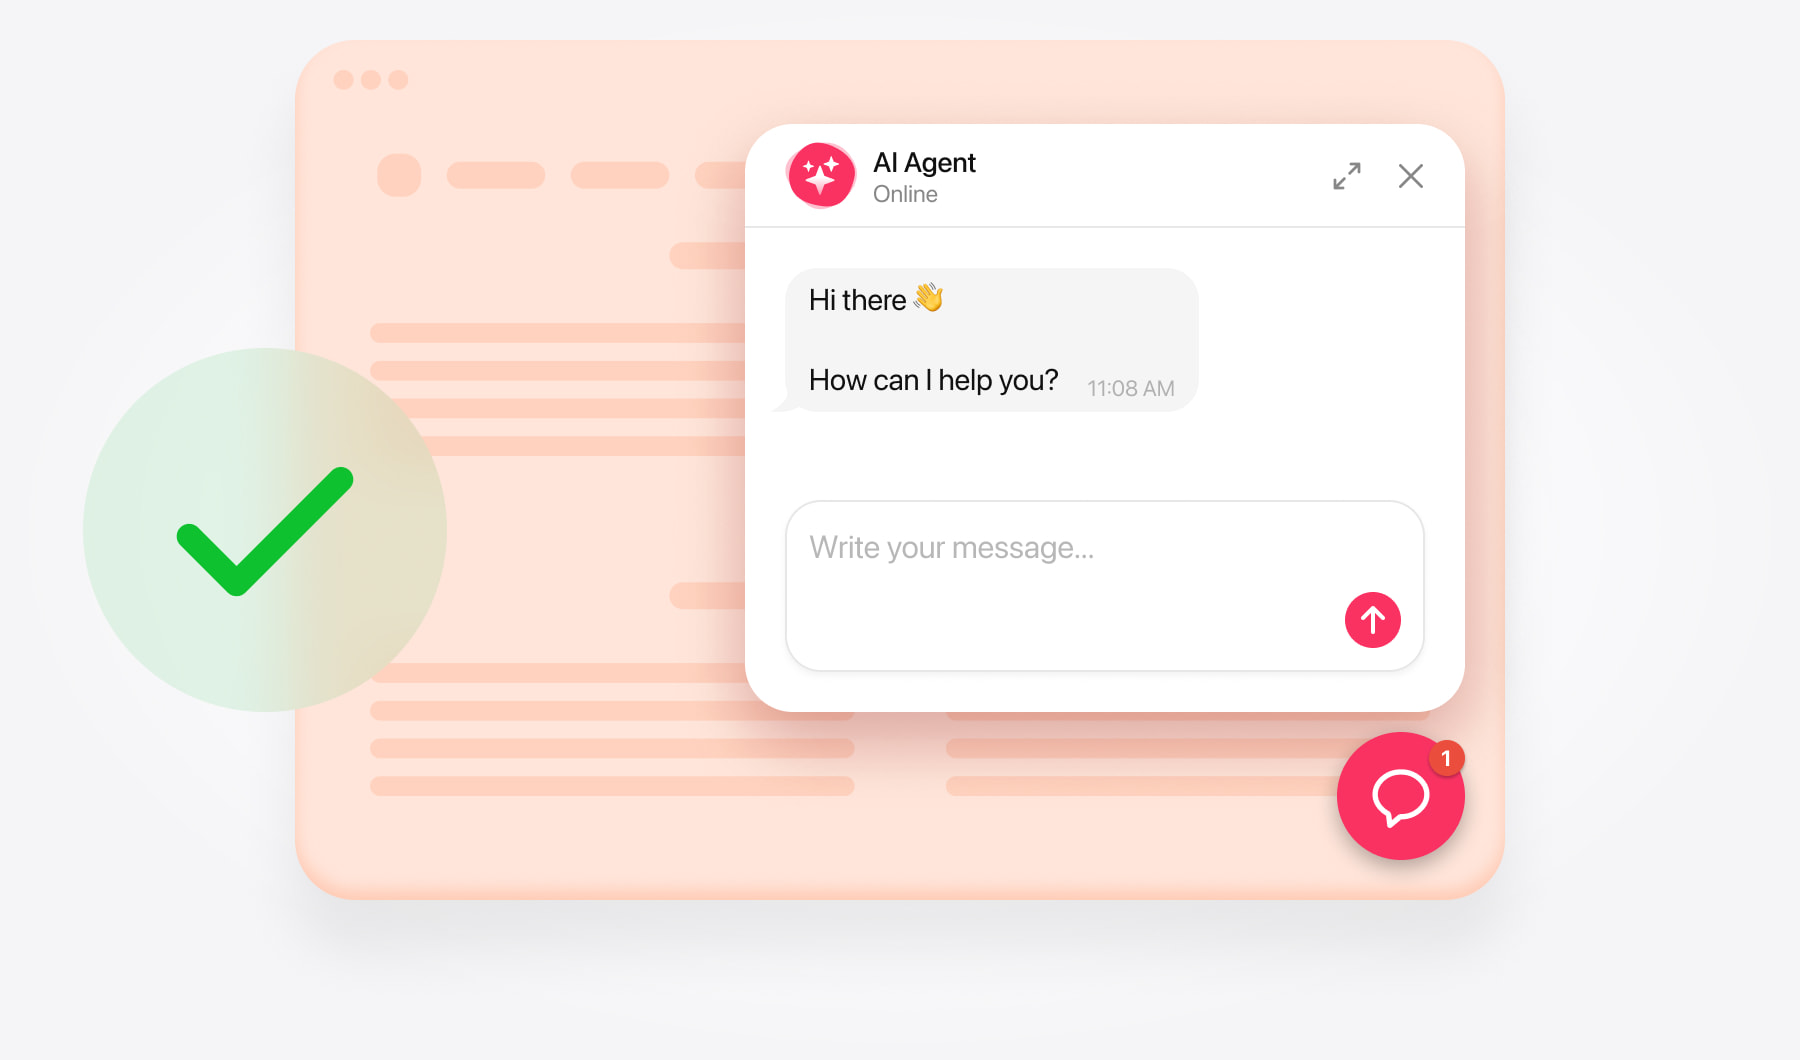
  3. The chatbot live on the page

Before you start

You need the code snippet from your widget, and access to wherever your site lets you add code. On most builders that is a settings field, not a code editor.

Step by step

The general shape is the same everywhere: copy the snippet, paste it into a site-wide code area, save and publish.

Where it differs is what that area is called. On WordPress it is a plugin or the theme footer. On Wix it is Custom Code in settings. On Squarespace it is Code Injection. On Webflow it is the site-wide custom code panel. On Shopify it is the theme code editor.

Each of those has its own guide with screenshots: WordPress, Wix, Webflow, or all platforms.

Try it on your own website

Paste your website address and watch it build itself. It reads your pages, works out what your business does and drafts how it should speak — then you can ask it something about your own business and see what it says.
  1. 1. Choose template
  2. 2. Create AI agent
  3. 3. Add to website

Check it works

Open your live site in a private browsing window and look for the launcher. If it is there and it opens, you are done.

If you added it to a builder, remember to publish. A saved but unpublished change is the single most common reason a widget does not appear.

FAQ