You need your widget code snippet and edit access to the Webflow project. Custom code on a published site requires a paid site plan.
Step by step
1.
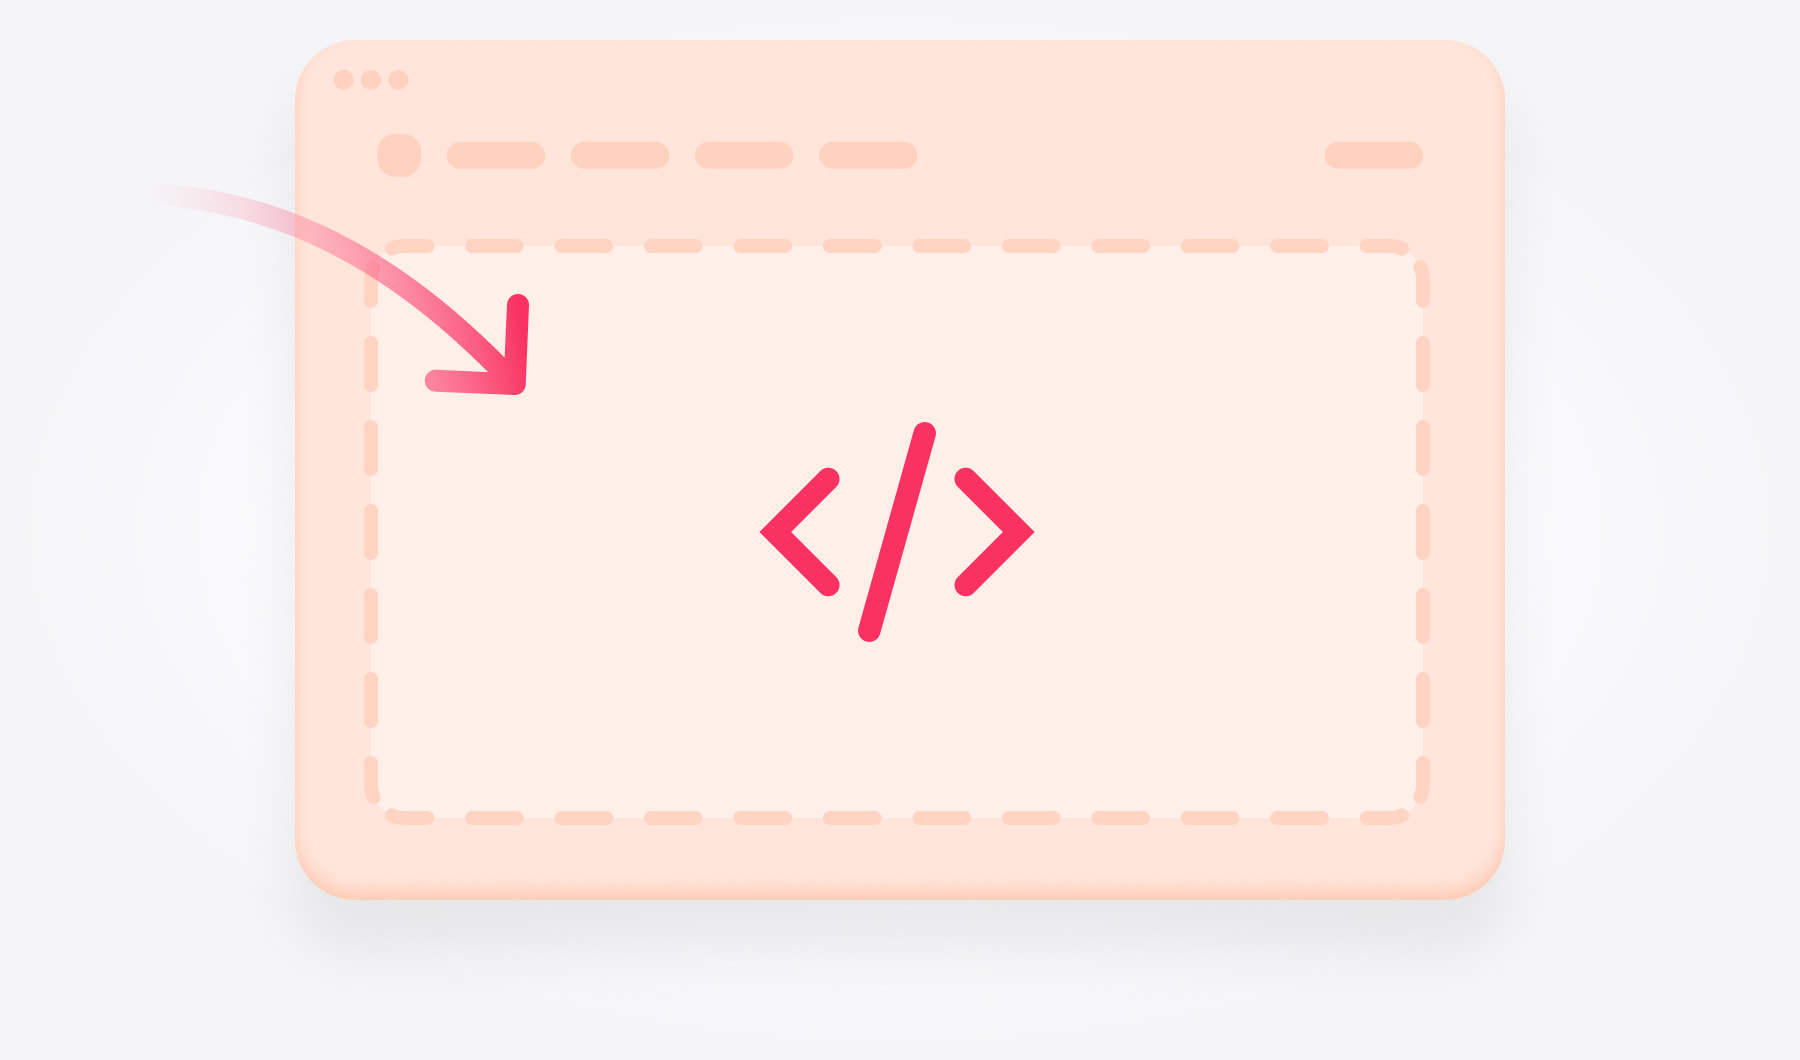
Open Project Settings, then Custom Code.
2.
Paste your snippet into the Footer Code field, not the Head.
3.
Save the changes.
4.
Publish the site to your domain.
If you only need it on one page, use Page Settings instead and paste it into that page footer code.
Try it on your own Webflow site
Paste your website address and watch it build itself. It reads your pages, works out what your business does and drafts how it should speak — then you can ask it something about your own business and see what it says.
1. Enter your website
2. Create AI agent
3. Add to website
Check it works
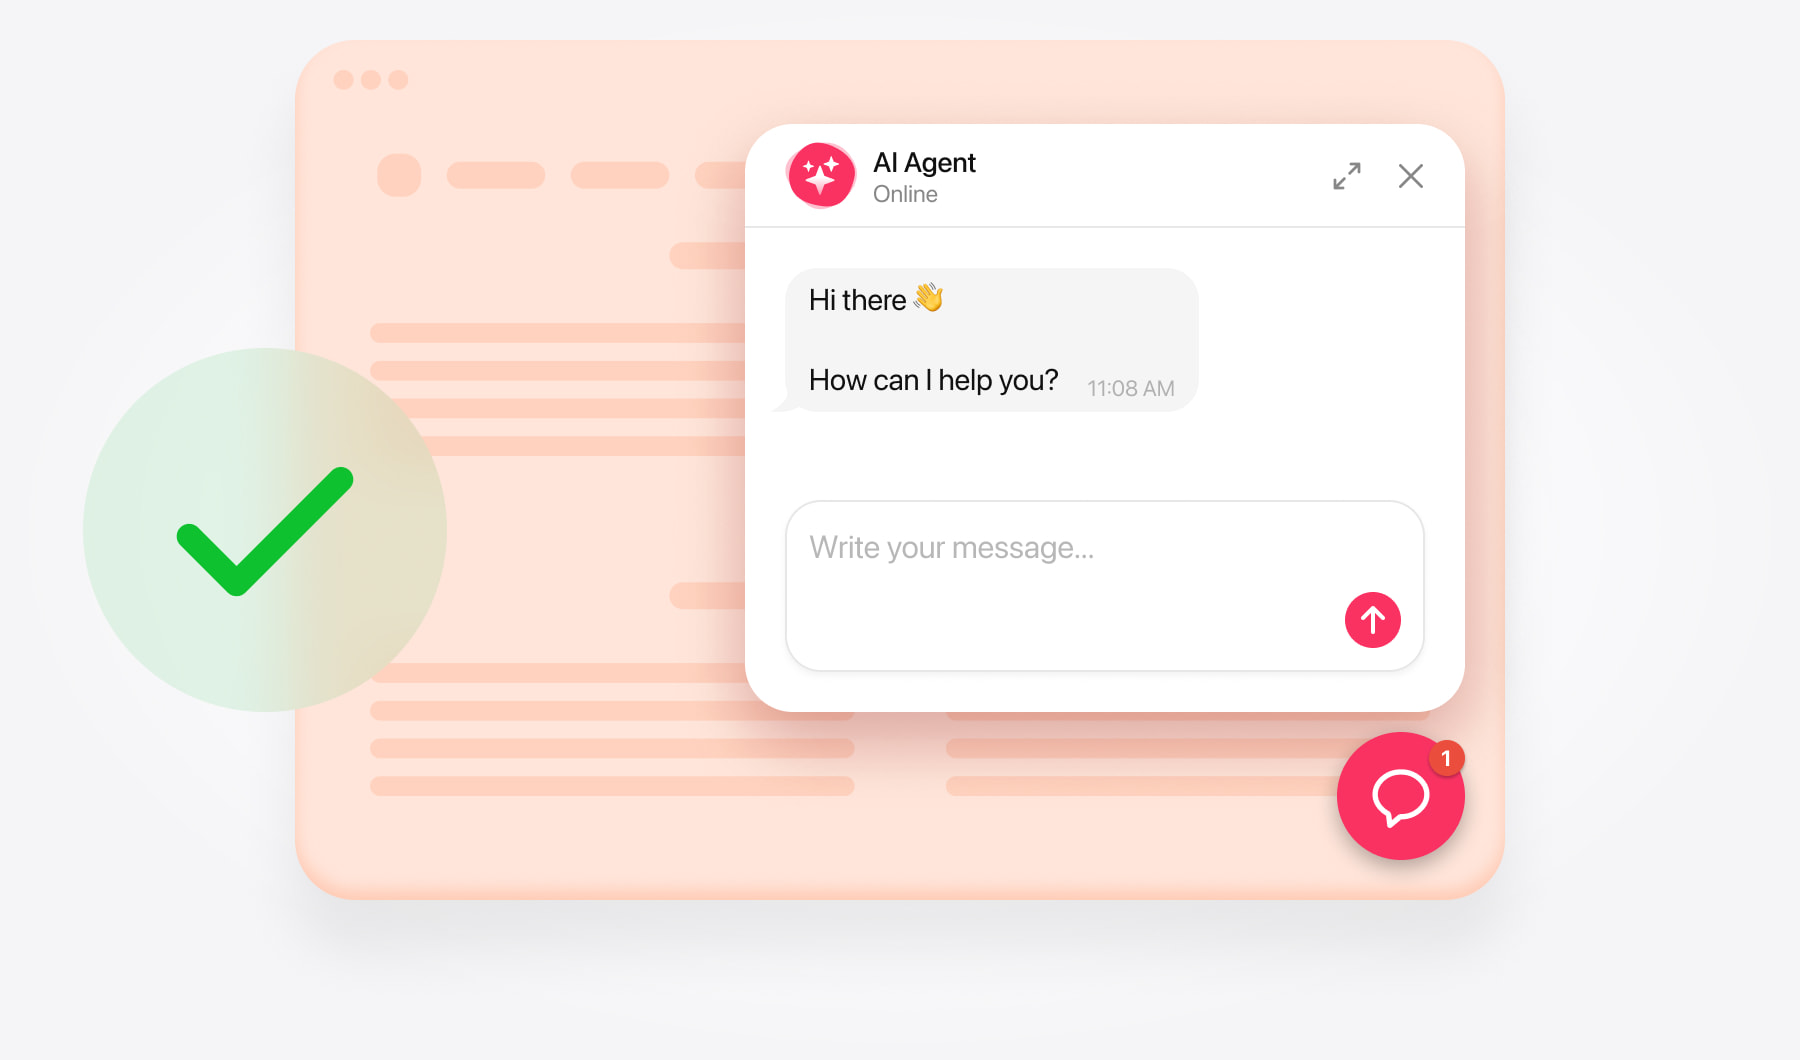
Open the published domain in a private window — not the webflow.io staging URL if you have a custom domain, since custom code behaves differently there.
If nothing appears, check you published after saving, and that the site plan allows custom code.
If something went wrong
If the launcher is missing on the custom domain, confirm you published after saving Custom Code, and that the site plan allows it — some Webflow plans block site-wide code.
Check the Designer preview last: custom code often does not run there the same way as on the live host. A private window on the published URL is the real test. If display rules hide the widget on that path, it will look like a failed install.
What to do next
Ask it three things you know the answer to, and one thing that is not on the site. The last one should be an honest gap, not a guess.
Then set the greeting, turn on the skills you actually want, and decide which pages the widget should skip — checkout and the blog are the usual ones.