
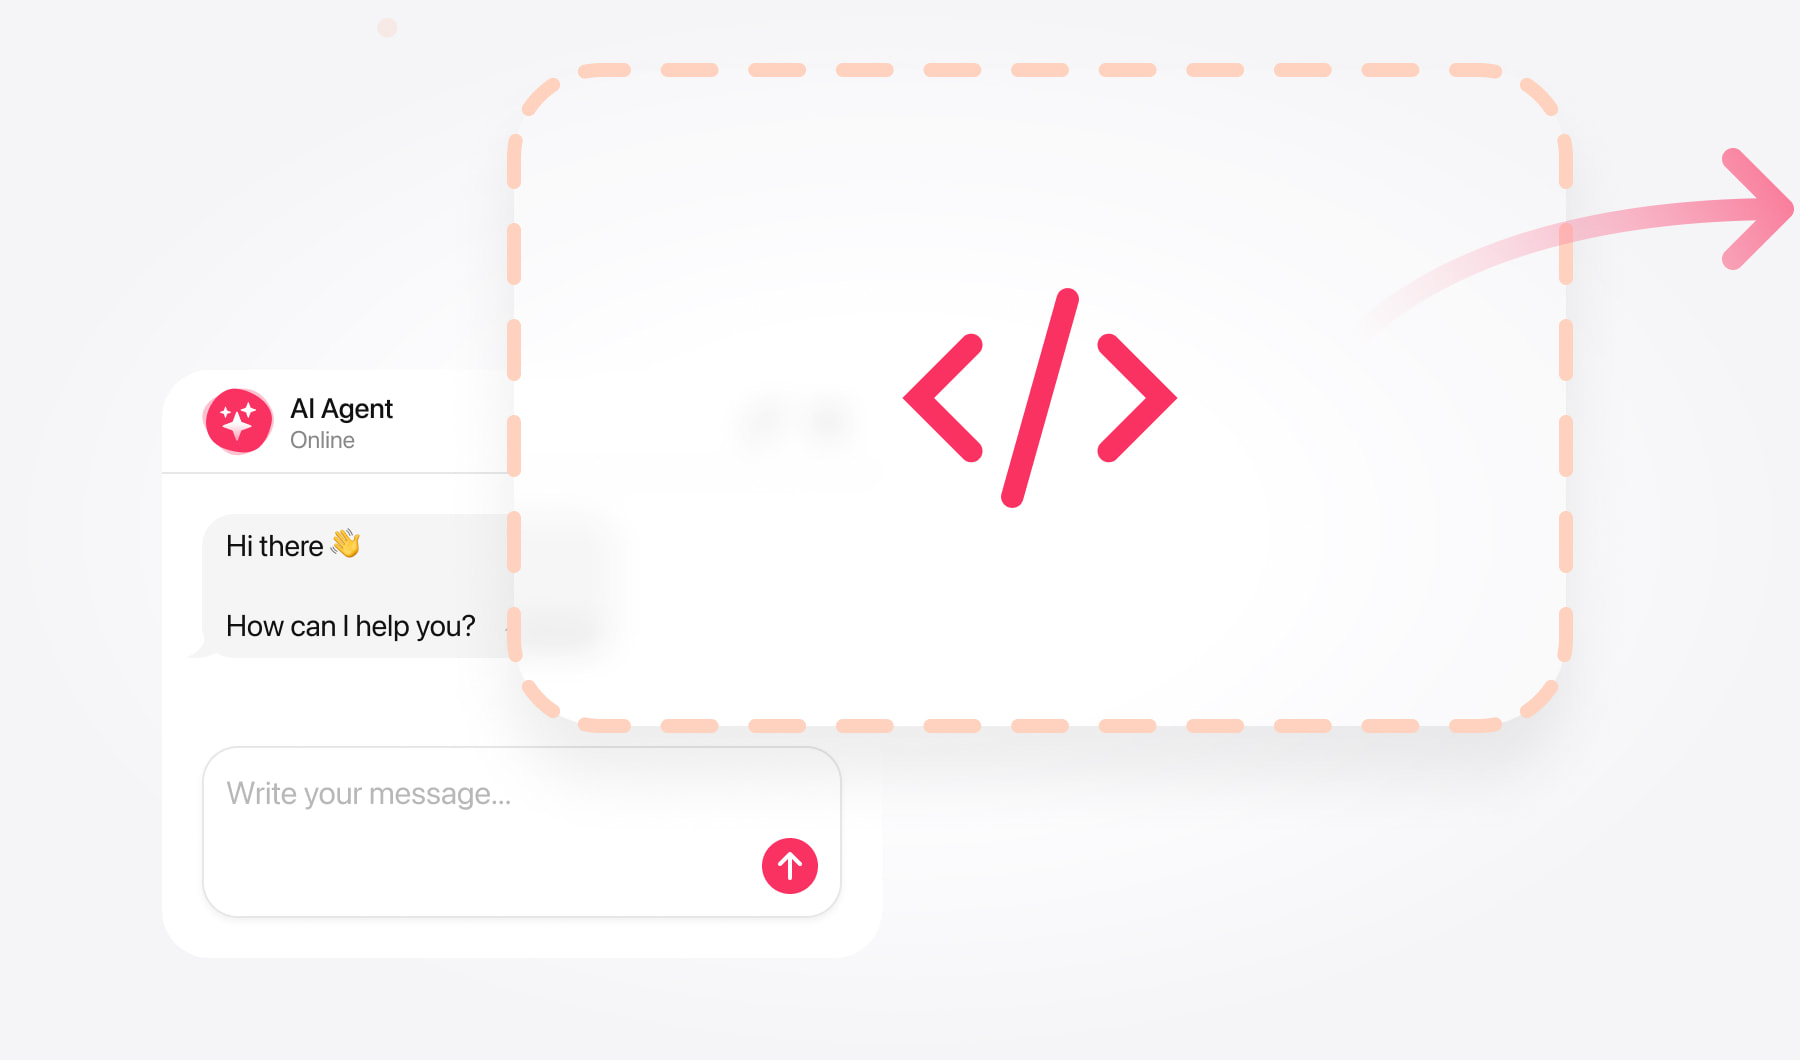
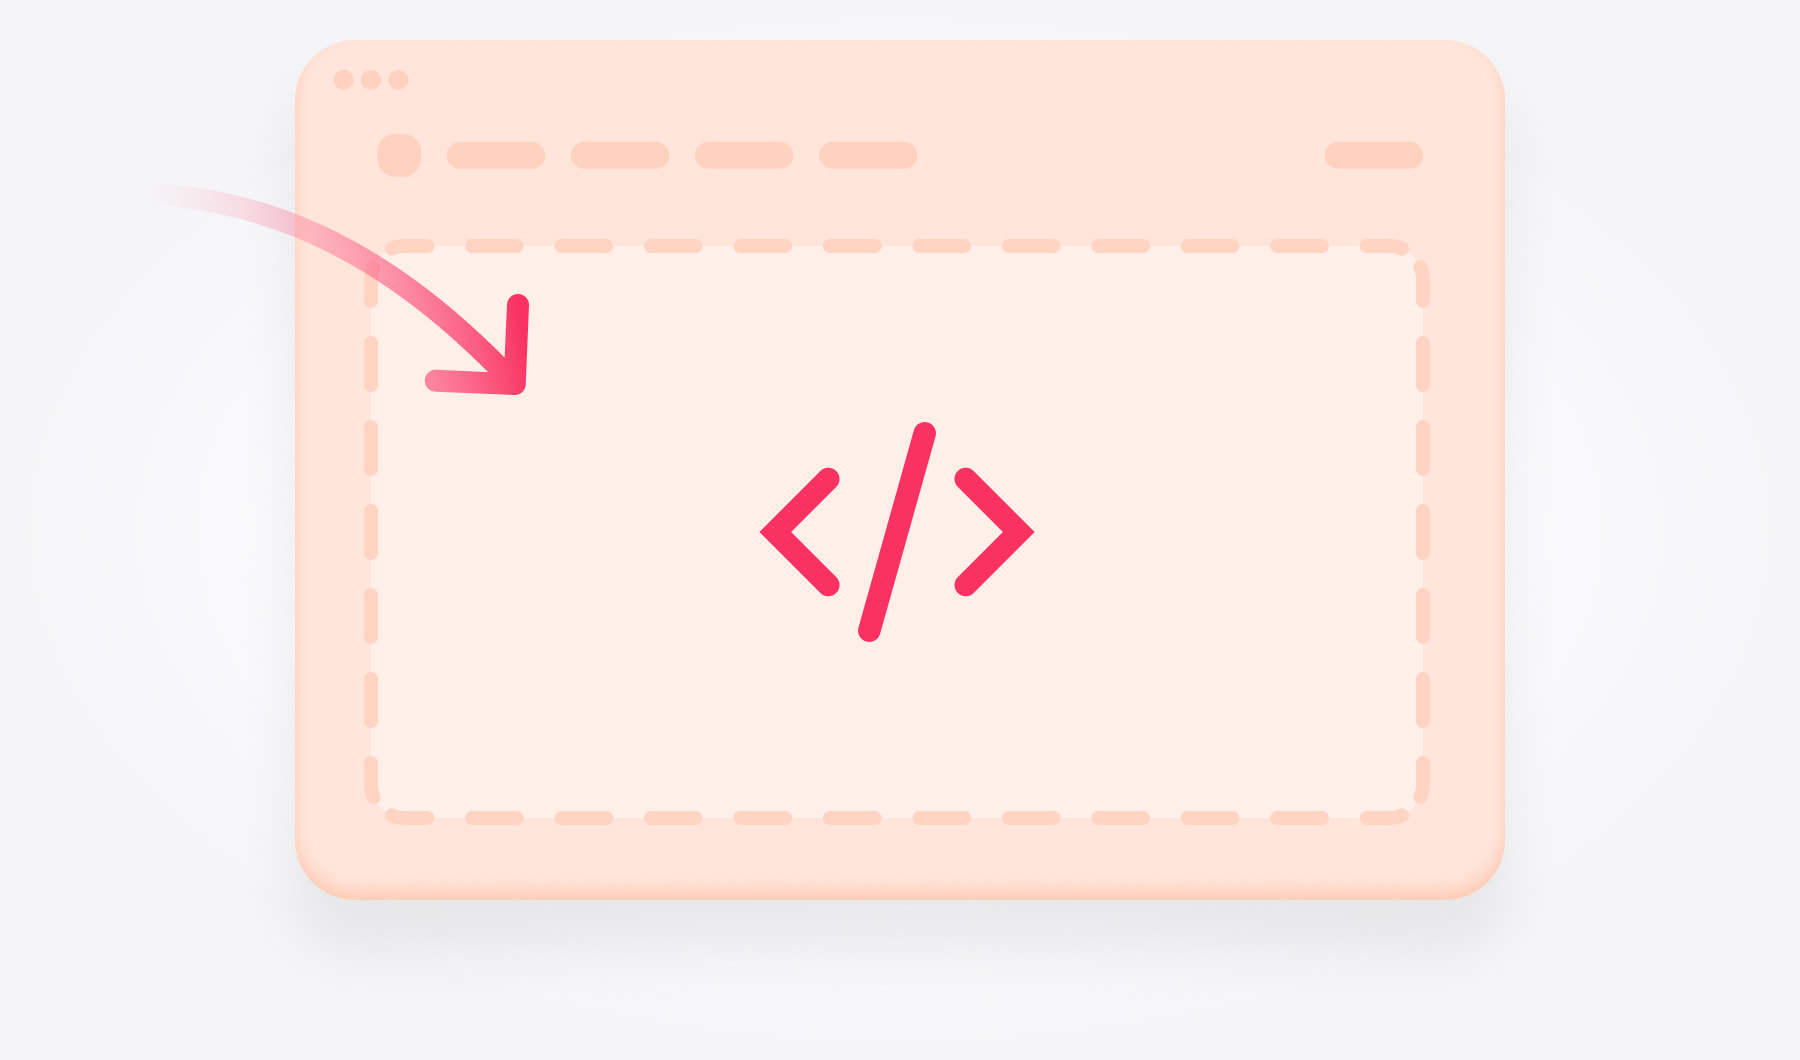
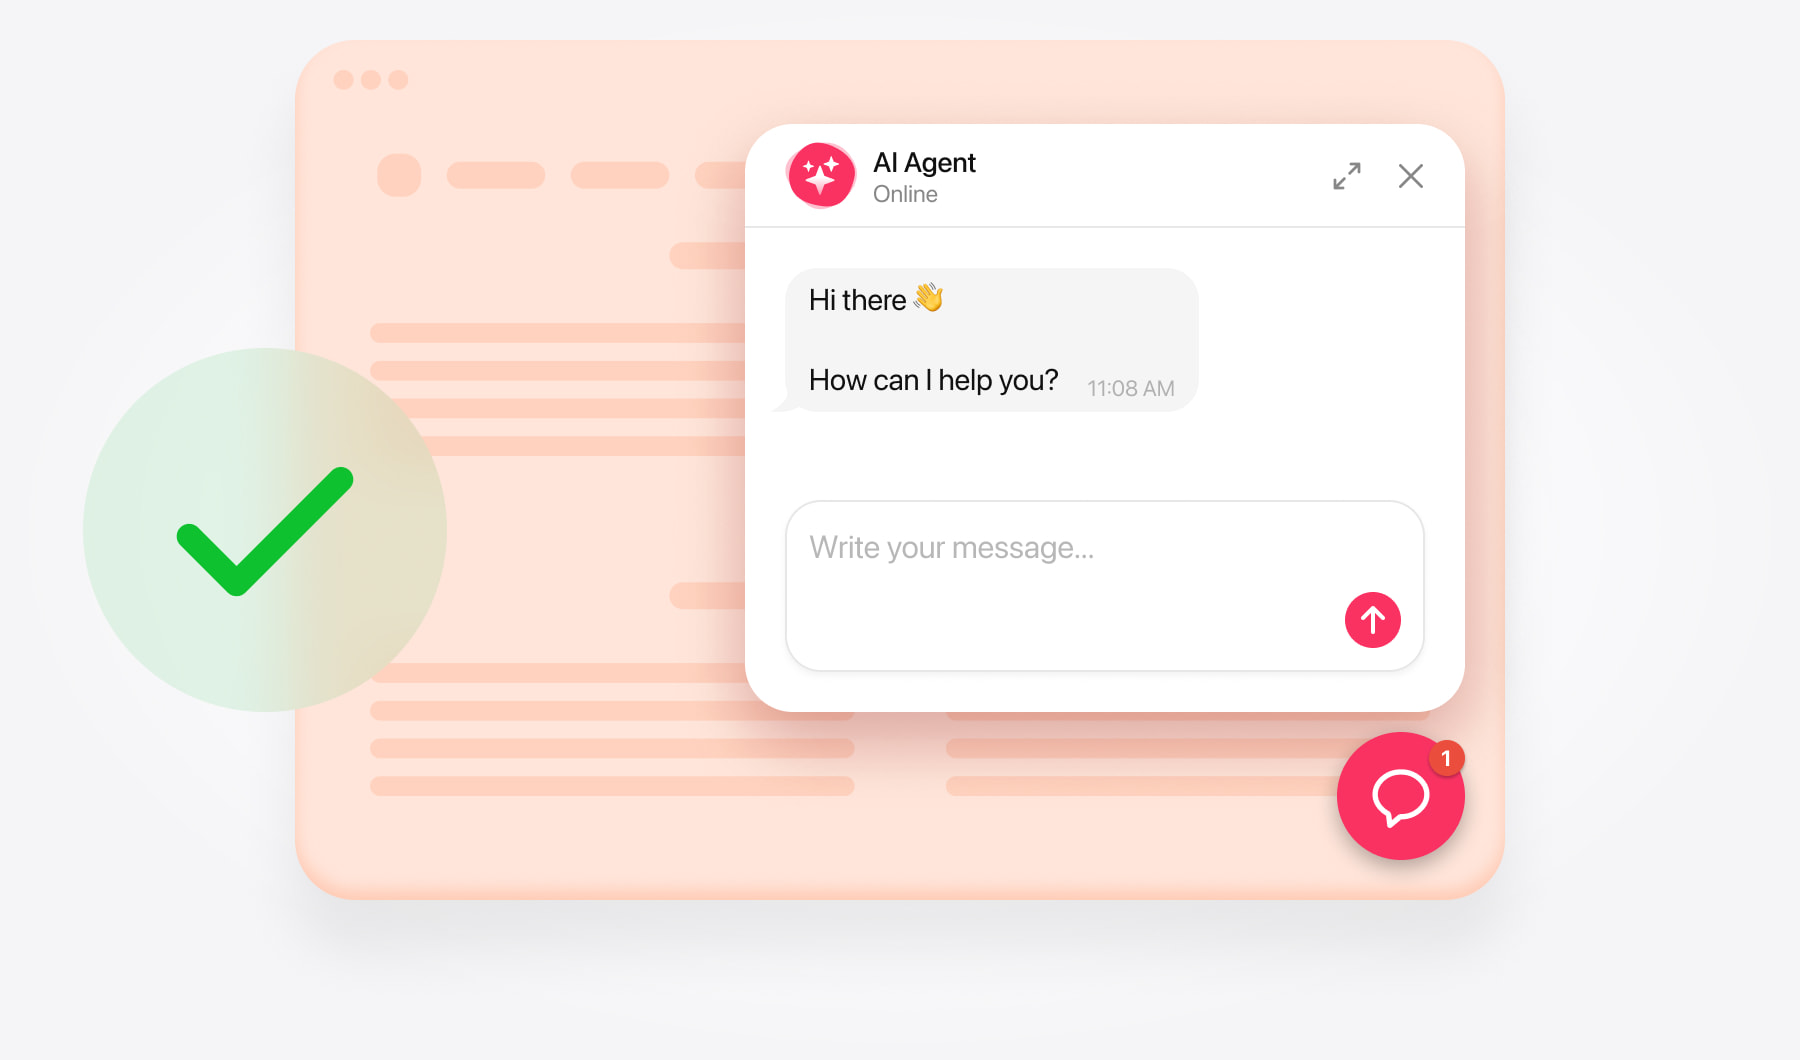
Create your chatbot and get the installation code
Since WooCommerce runs on WordPress, installation takes place in your WordPress dashboard. You can place a chat window within a page or add a floating launcher through your theme.
Enter your store’s address in the AI Chatbot editor to begin setup. Review the website content used for answers, then add any missing details about your products, shipping terms, or return policy.
Choose a display format:
- Embedded chat — a conversation window within your page.
- Floating chat — a launcher shoppers can open as they browse.
Match the appearance to your store and test several buying questions. Save your chatbot, then copy the complete installation code from the dashboard.
Your WordPress account must have permission to save HTML containing scripts.
Add an embedded chat to your page
A buying guide, FAQ, or customer support page can give shoppers a useful place to start a conversation.
Open the page. In WordPress, go to Pages, find the page you want, and select Edit.
Insert a Custom HTML block. Click + and search for Custom HTML, or type /html in the block editor.
Add the chatbot code. Paste the complete embedded chat snippet into the block’s HTML editor.
Save the changes. Apply any changes within the block editor, then update or publish the page.
Check the live result. Open the page outside the WordPress editor.
Place the block in a section wide enough for comfortable reading. A short introduction such as “Ask about choosing a product, shipping, or returns” tells shoppers what to expect.
If your page uses Elementor or another builder, use that builder’s HTML element instead.
Add a floating chat across your store
The placement depends on whether your WordPress theme uses widgets or the Site Editor.
For classic themes with a footer widget area
Open your widgets. Go to Appearance → Customize → Widgets.
Select a footer area. Choose one that appears throughout your store.
Add Custom HTML. Paste the complete floating chatbot installation code into a Custom HTML widget or block.
Publish the changes. The launcher appears on pages that include this widget area. Check your shop, product, cart, and checkout pages, as some themes use different layouts for them.
For block themes
Open the Site Editor. Go to Appearance → Editor.
Find the shared footer. Under Patterns, locate the footer template part used by your store.
Edit the footer. Add a Custom HTML block containing the complete floating chatbot code.
Save the template part. This adds the chatbot to templates that use that footer. If a store section uses a separate footer, check its placement too.
If neither option is available, contact support for instructions suited to your theme.
Add a floating chat to selected pages
For a launcher on only a few content pages, follow the embedded-chat instructions using your floating chat code.
The Custom HTML block holds the installation snippet; the layout selected in AI Chatbot determines how visitors open the conversation.
Install the same chatbot only once per page. If you already added it to a shared footer, you don’t also need a page-level copy.
Check the chatbot on your storefront
Test the published store in a private browser window. Follow a typical shopping path: open a category, visit a product, and continue to the cart.
Check that:
- Shoppers can open the chat, send a message, and receive an answer.
- The chatbot appears where you intended.
- Product links and configured action buttons lead to the right destination.
- The launcher leaves Add to cart, checkout buttons, and cookie controls accessible.
- The embedded window fits its section on desktop and mobile.
Ask questions that require useful product or policy details like “How do these two products differ?” or “What happens if I need to return my purchase?”
Where an answer lacks detail, update the relevant knowledge in AI Chatbot and test again.
Fix common installation issues
The code disappears after saving. Ask your administrator to check your account’s permissions and any restrictions on custom scripts.
The chatbot appears on some pages only. Confirm that those pages use the footer or widget area where you installed it.
The live store hasn’t changed. Clear the relevant website cache and reload the page.
Two chat windows appear. Check for duplicate snippets in page content and your shared footer.
Need help?
Send the support team your store URL, theme name, and preferred chatbot placement. If you use a page builder, include its name so the team can provide the right instructions.
Free installation assistance is available.