
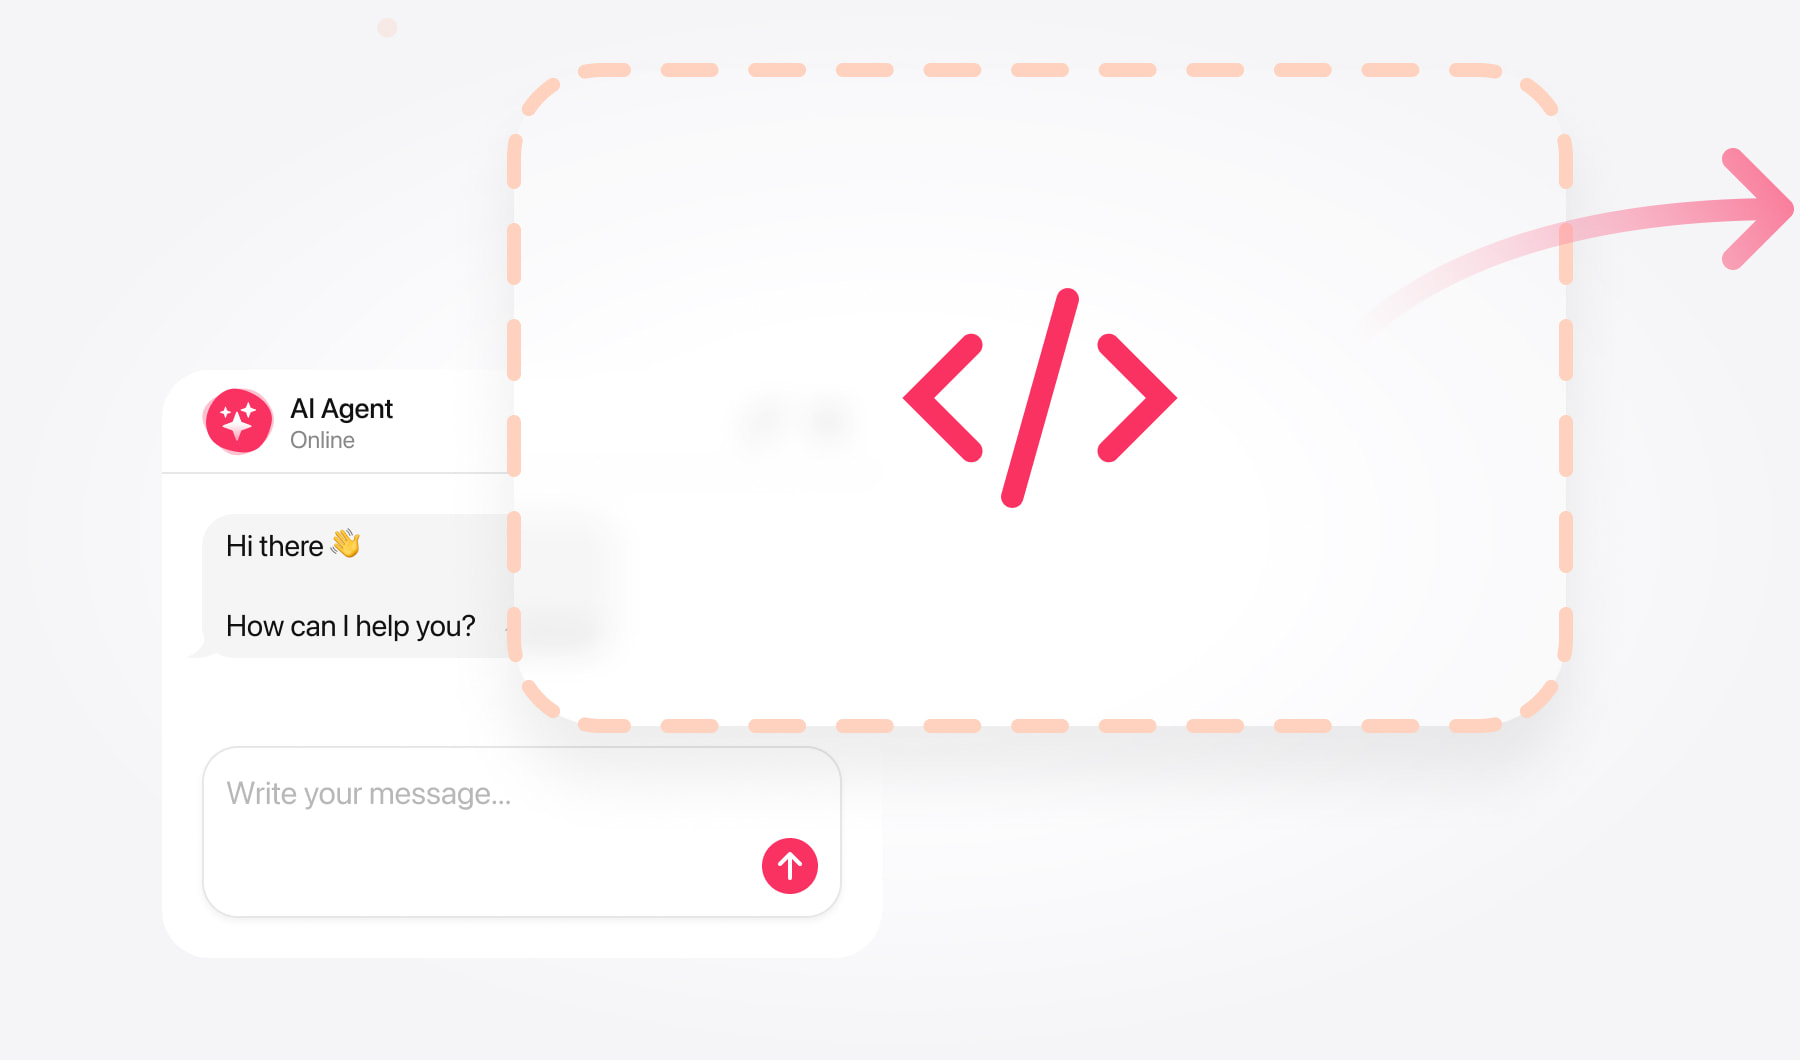
Prepare your chatbot for installation
You can display the chat directly in a page or make it accessible through a floating launcher. The instructions below cover the Weebly editor with Build, Settings, and SEO controls.
Start in the AI Chatbot editor by entering your website’s address. Check the information collected during setup, fill in any gaps, and try a few questions before putting the chatbot in front of visitors.
Next, choose how the conversation will appear:
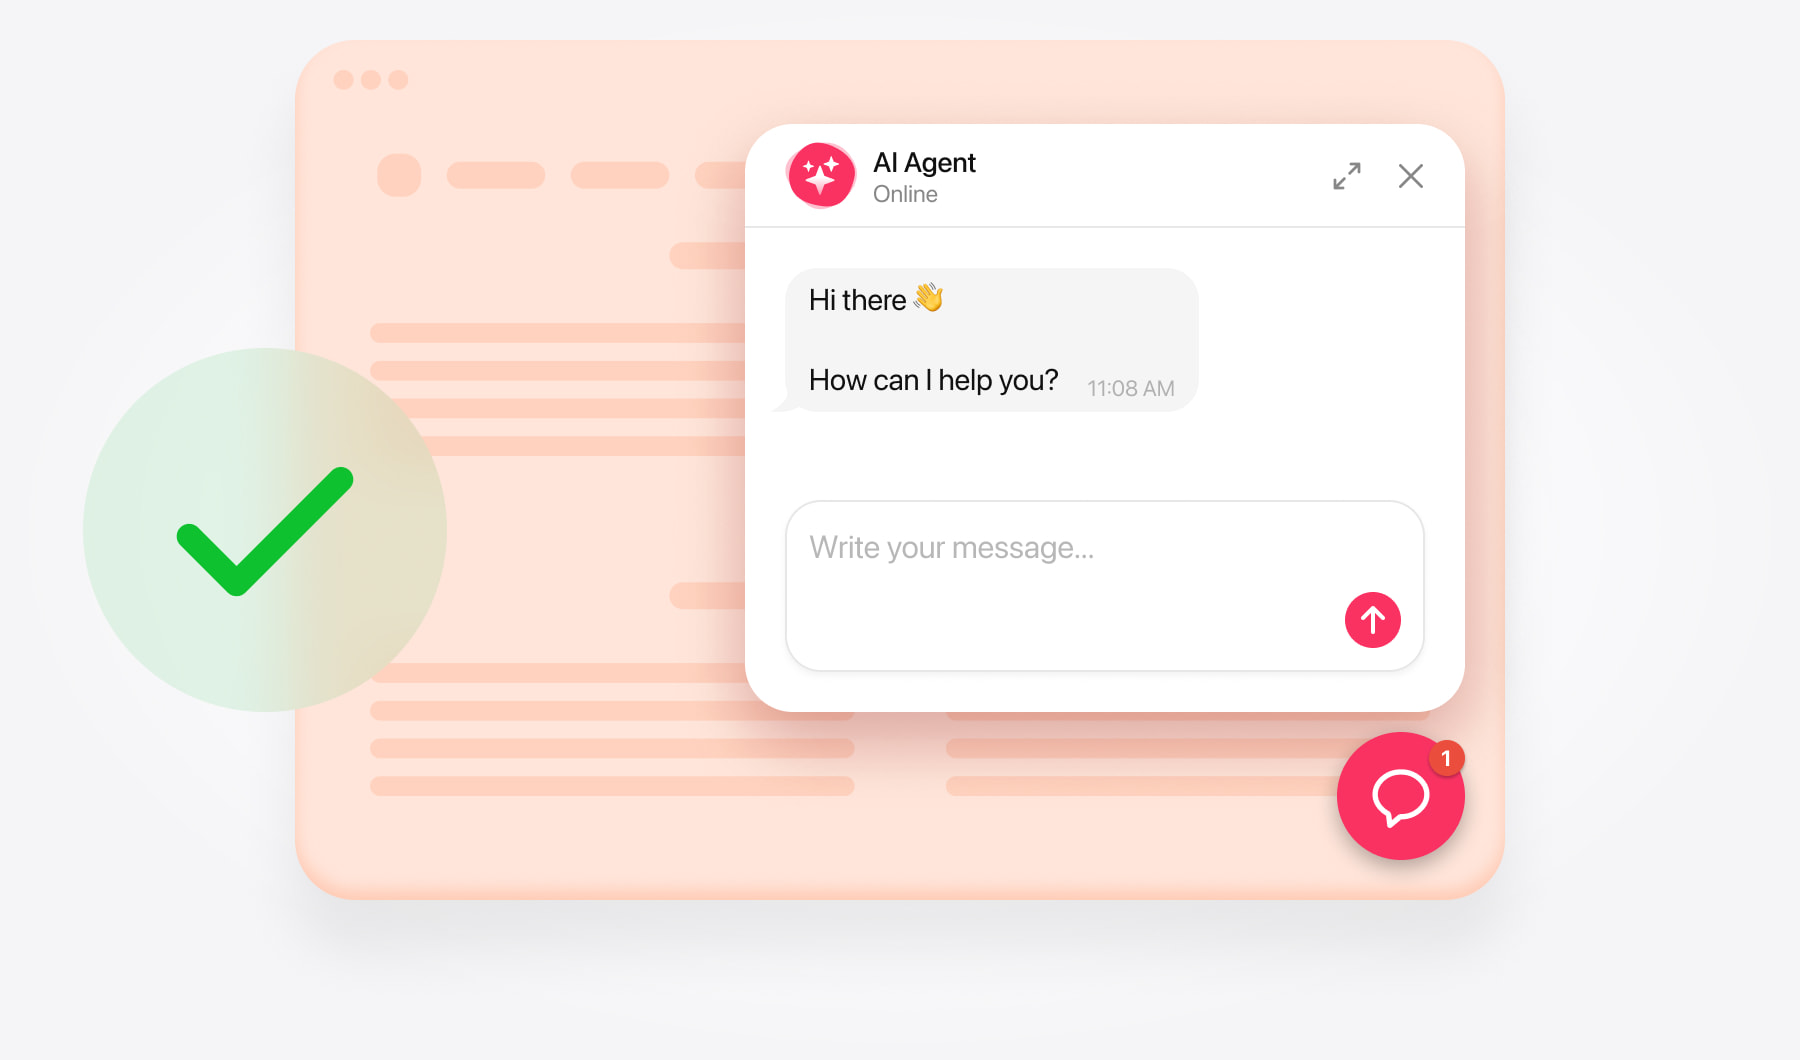
- Floating chatbot — visitors click a launcher to open the chat.
- Embedded chat window — the conversation occupies a section of your page.
Adjust the colors and other appearance settings to suit your website. When you’re ready, save the chatbot and copy its installation code from the dashboard.
Add a floating chat available across your website
This option keeps the launcher accessible as visitors move between pages.
Enter the site editor. Select your website in Weebly and click Edit Site.
Find the code field. Open Settings → SEO → Footer Code.
Insert the snippet. Add your complete floating chatbot code, preserving any code already there.
Apply the changes. Click Save, then Publish.
Limit floating chat to selected pages
Follow the page-level installation steps below, using the code for your floating layout. Repeat for each intended page.
If you previously installed the chatbot in Footer Code, remove that copy before switching to page-level placement.
Add an embedded chat to your page
Choose the page. in your Weebly editor.
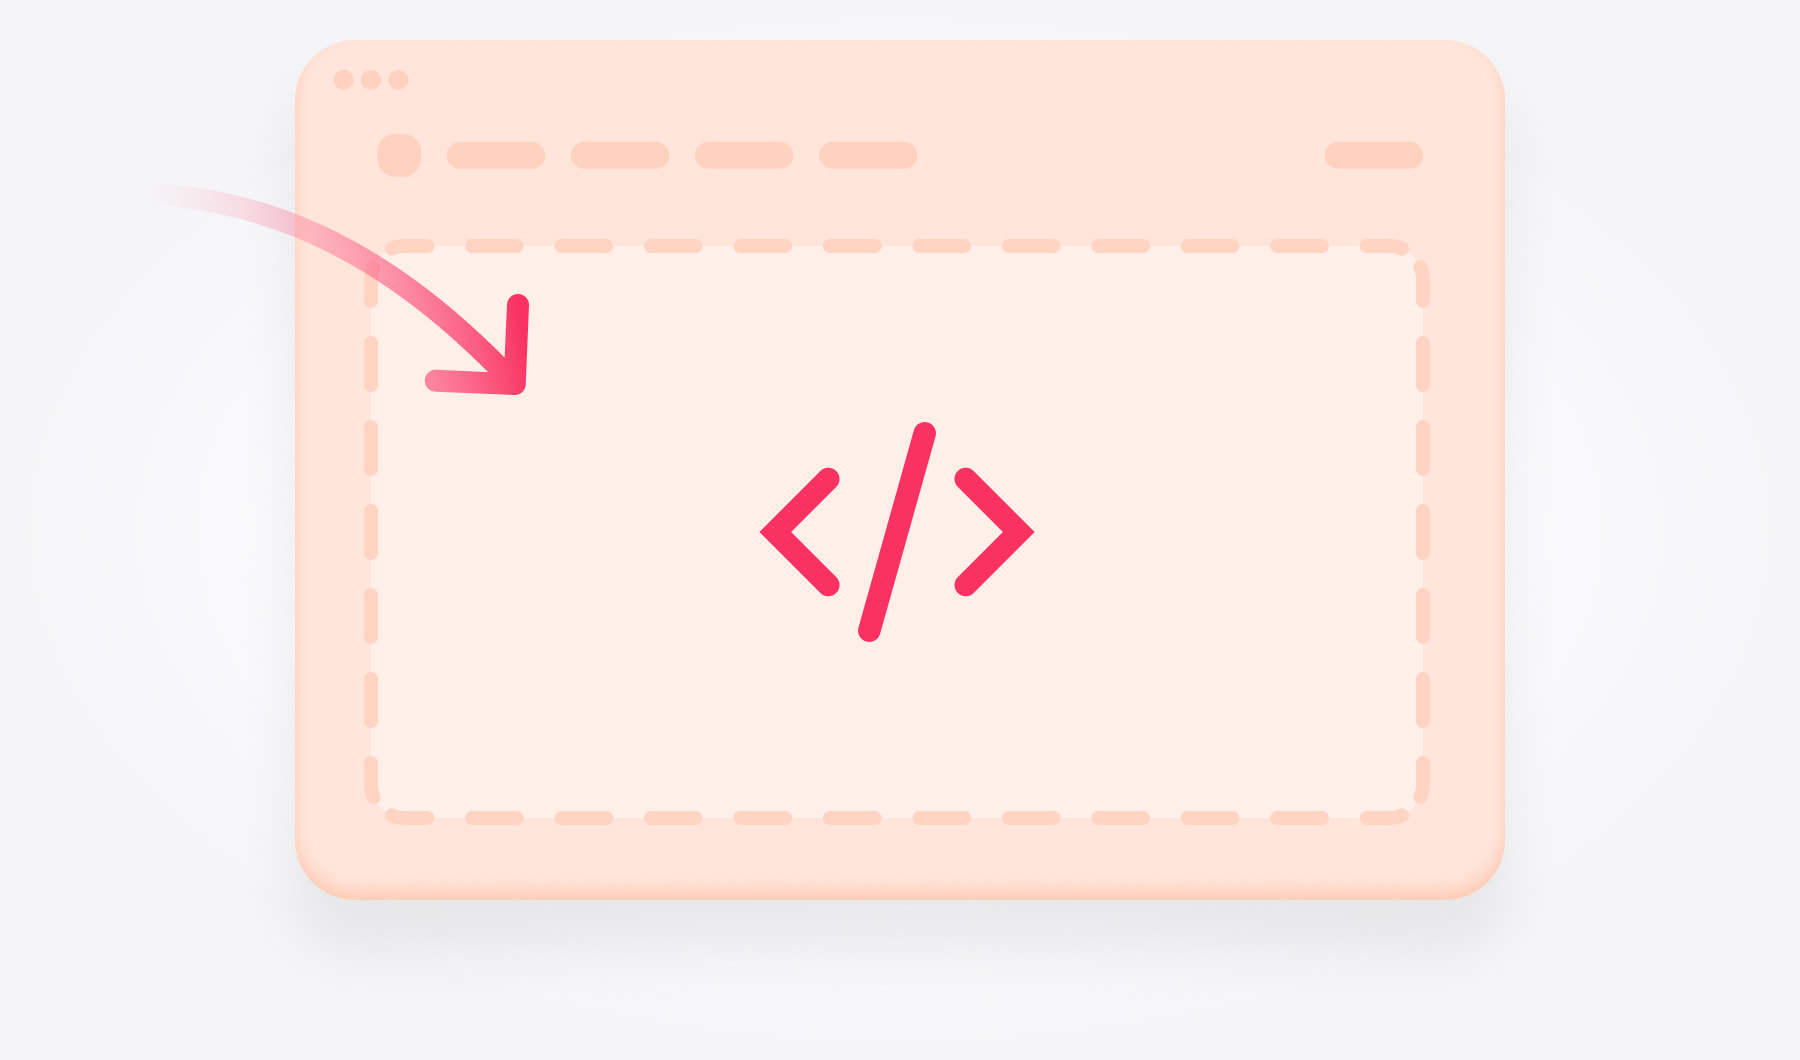
Add a code element. From the Build panel, drag Embed Code into the desired section.
Open its editor. Click Click to set custom HTML → Edit Custom HTML.
Paste the full embedded chat code. Click outside the field to apply it.
Publish your website. The chatbot may look cropped or remain invisible inside the editor. Check the published page in a private browser window before adjusting the installation.
Give the conversation enough space
A contact page can place the chat beside your business details. A service page might introduce it after explaining what you offer, where visitors are ready to ask more specific questions.
Use a short introduction that sets expectations, such as: “Ask about our services, availability, or how to get started.”
Choose a wide enough section for comfortable reading. On a phone, check that visitors can reach the message field and follow the conversation without horizontal scrolling.
Check the experience visitors will get
Visit the published website while logged out of Weebly. Start a conversation, open a suggested link, and try any contact or booking actions you configured.
As you test, confirm that:
- The chat appears on the pages you selected.
- Messages and responses display correctly.
- The launcher leaves menus, forms, and cookie controls accessible.
- The embedded window fits within its section.
- Buttons lead to the intended destinations.
- Both desktop and mobile visitors can use the interface comfortably.
Use questions that reflect your business rather than testing only a greeting. For example, “Do you offer this service in my area?” or “What should I know before booking?”
Review any incomplete answers in AI Chatbot and update the information the chatbot uses.
If something doesn’t look right, first, confirm that you clicked Publish after changing the code. Then check the live page again in a private window.
If two chat windows appear, look for a duplicate installation in both the page’s Embed Code element and the site-wide Footer Code field. Keep only the placement you intend to use.
Get assistance with your Weebly setup
Free installation help is available. Send the support team your website address and describe where the chat should appear. Include the specific page URL if you want an embedded window, or explain that you need floating chat throughout the site.