
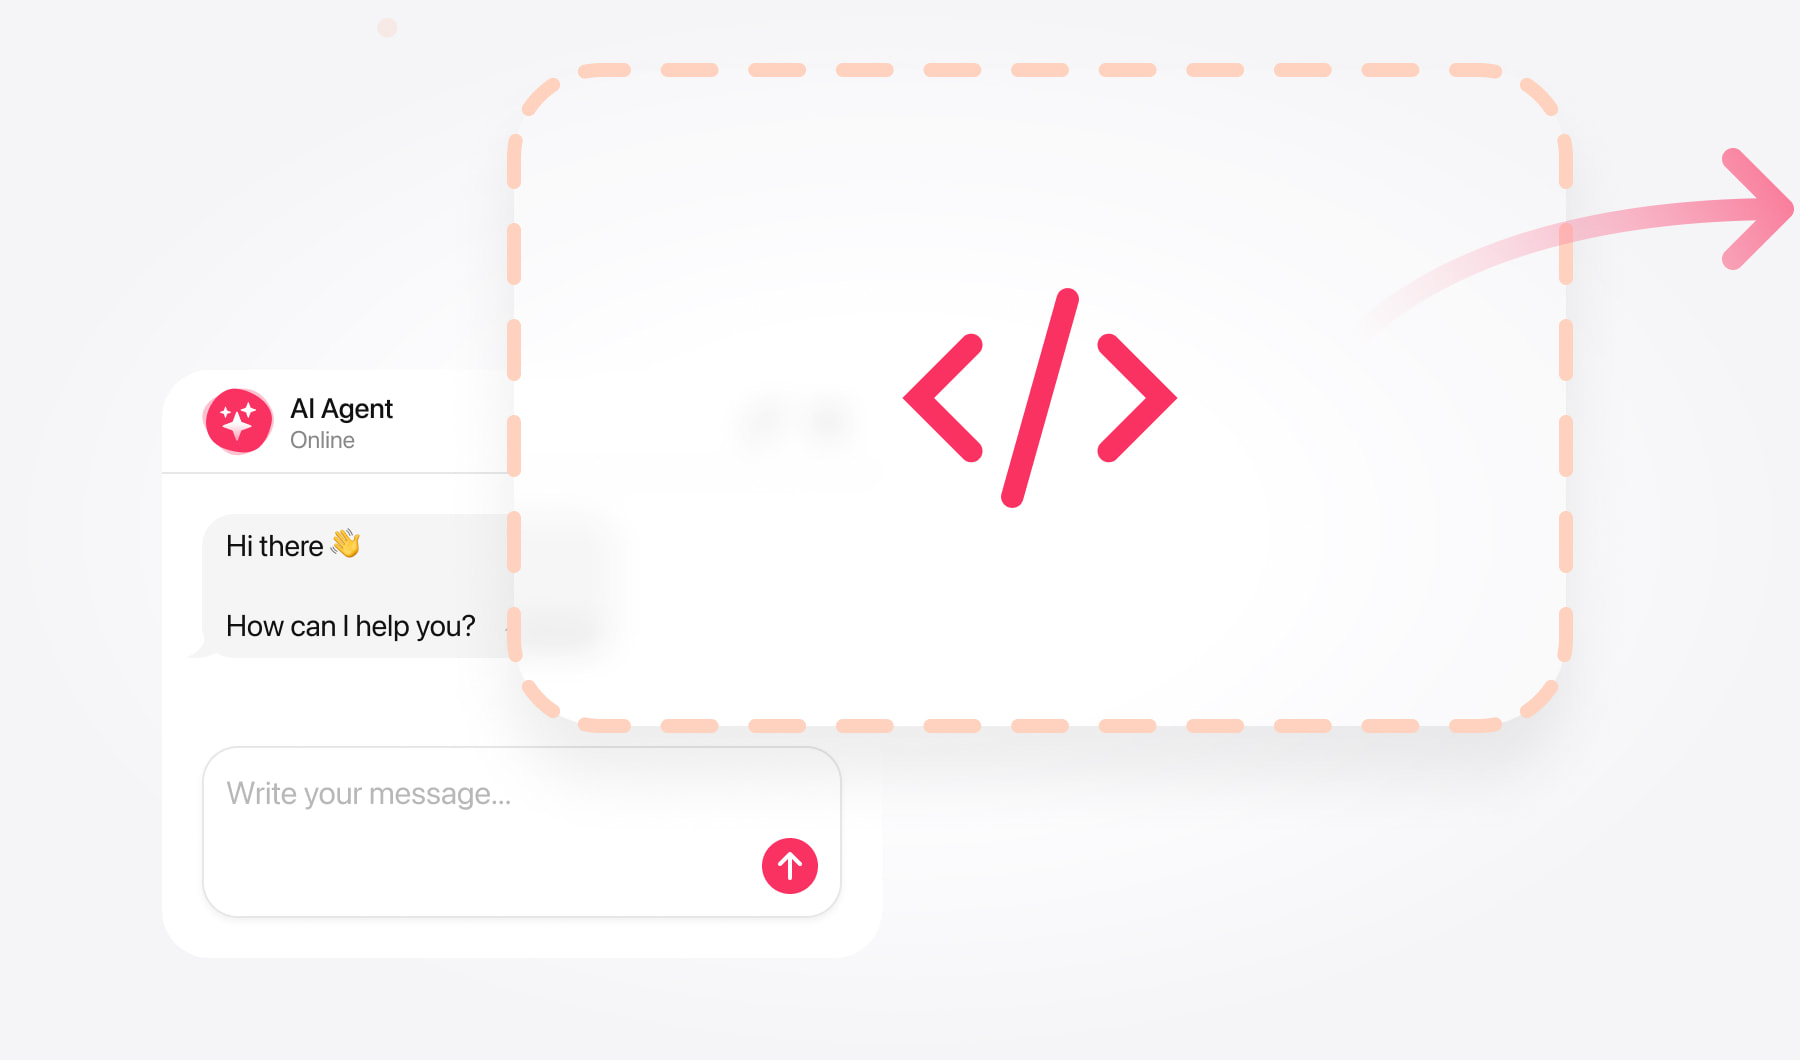
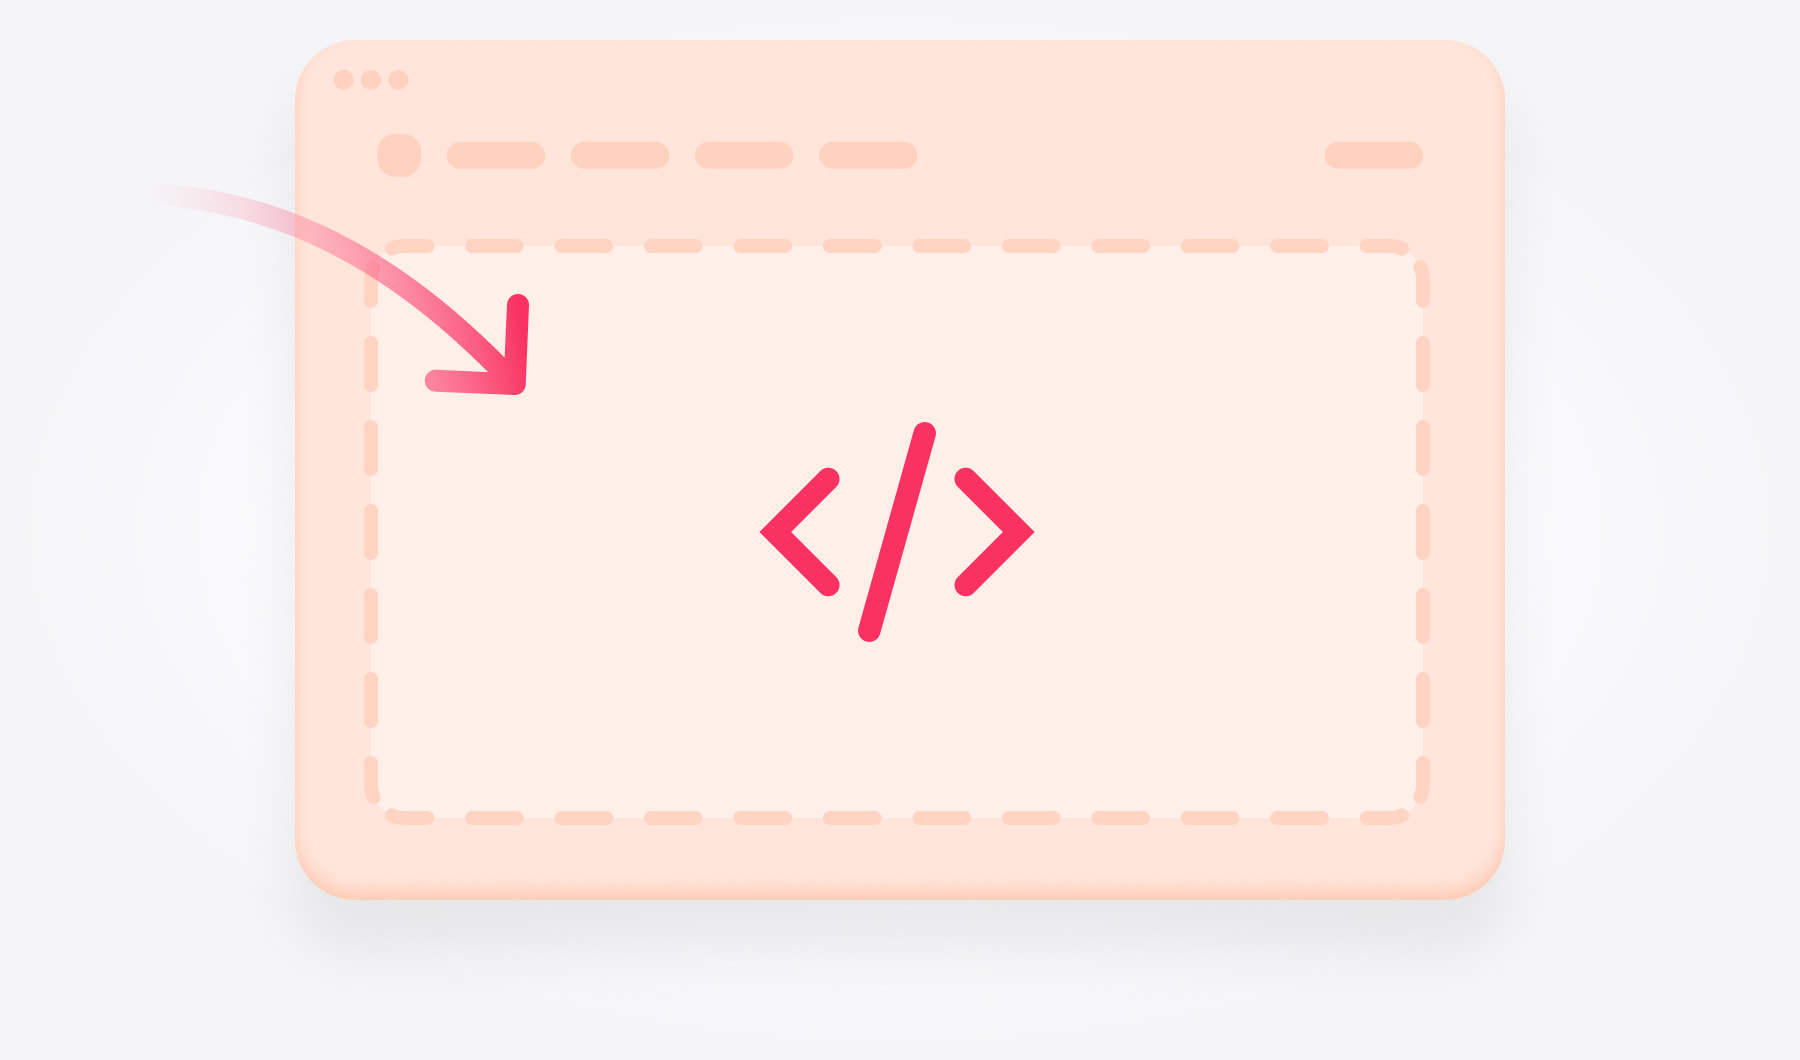
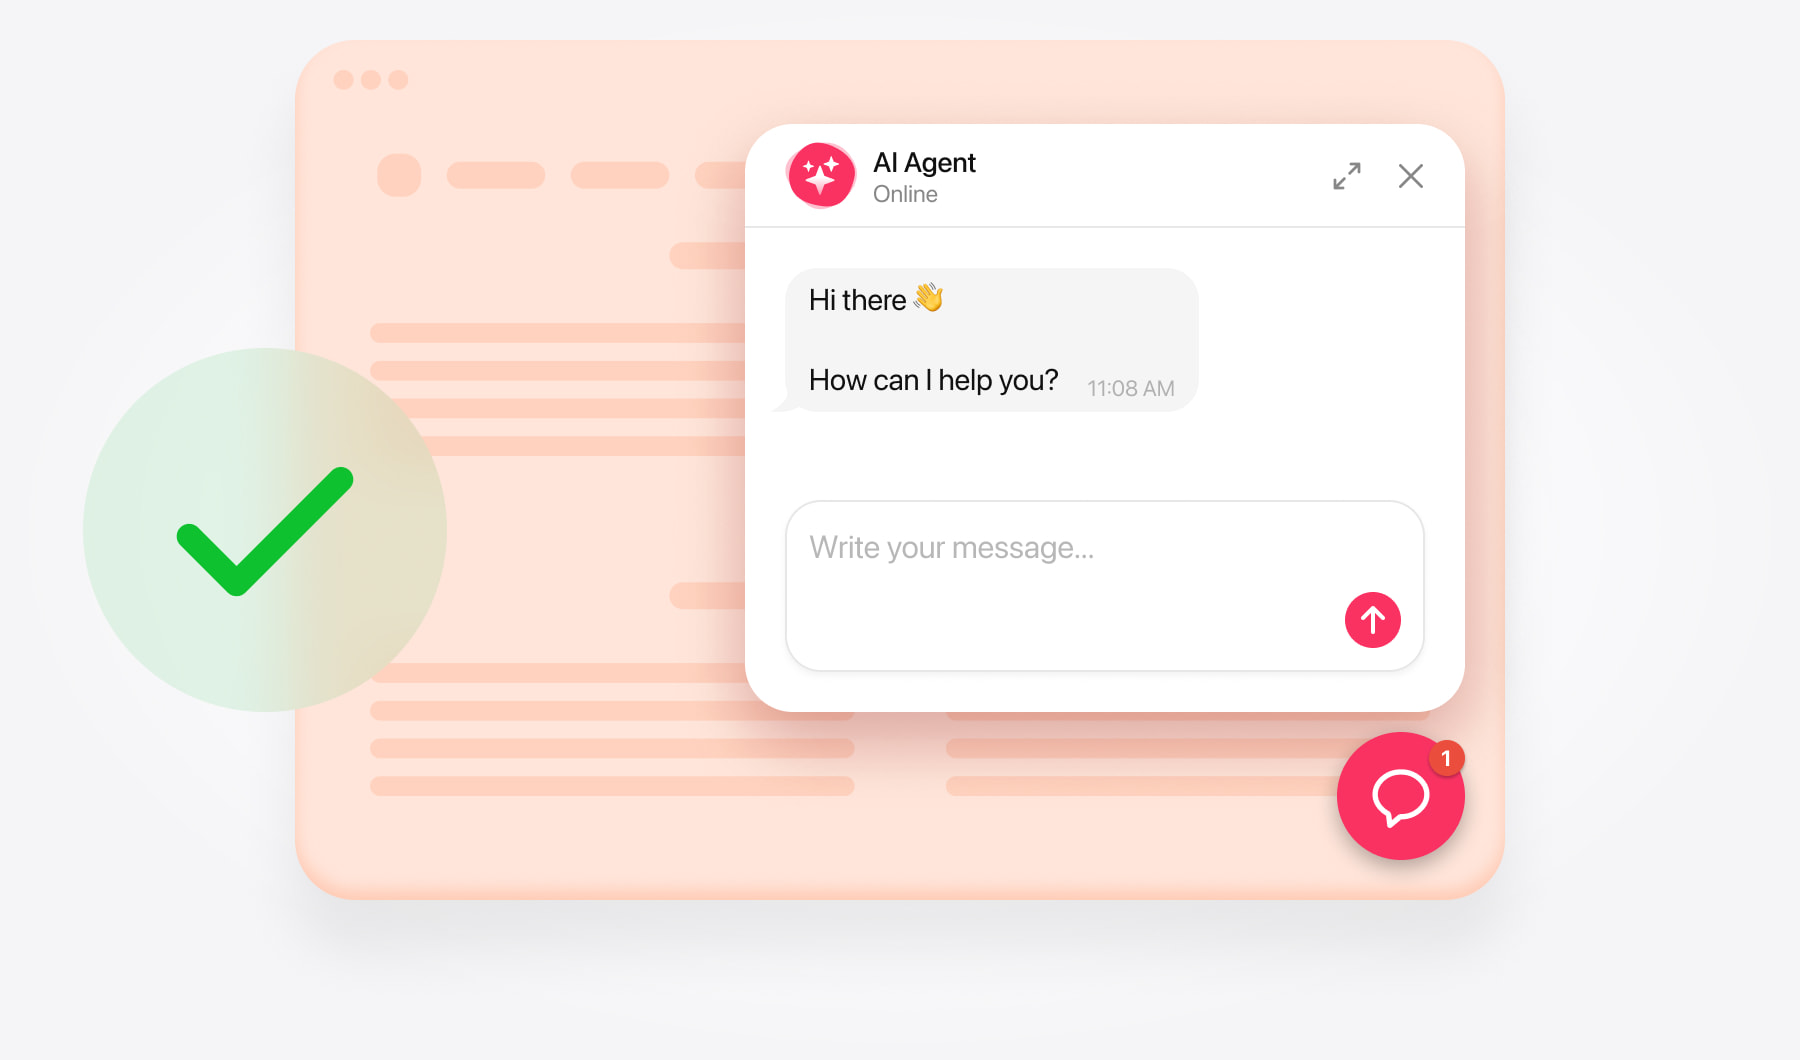
Create your chatbot and copy its code
You can display a chat window within a page or install a floating launcher across your store. This guide covers installation using the code from your AI Chatbot dashboard.
Enter your store’s website address in the AI Chatbot editor. Review the information gathered during setup, then add any missing product specifications, sizing guidance, delivery terms, or return policies.
Choose how shoppers will access the conversation:
- Embedded chat window — appears within your page content.
- Floating chatbot — opens from a launcher while shoppers browse.
Adjust the appearance to match your store and test a few buying questions. Save your chatbot and copy its complete installation snippet.
Add an embedded chat to your page
For Online Store 2.0 themes, use a Custom Liquid section.
Open the theme editor. Go to Online Store → Themes and click Edit theme or Customize.
Choose the template. Use the top dropdown to select the home page or the relevant page template.
Insert a section. Click Add section → Custom Liquid.
Paste the code. Add your complete embedded chat snippet to the Custom Liquid field.
Adjust the placement. Move the section where you want the conversation and check its spacing.
Save your changes. If Custom Liquid isn’t available, contact support for a placement method suited to your theme.
Show the chat on one page only
Changes to a shared template affect every page using it. Selecting a page to preview does not make the change exclusive to that page.
To limit the chatbot to one page:
Create a separate page template in the theme editor.
Add the chatbot’s Custom Liquid section to that template.
Open the target page in Shopify admin and assign it through the Theme template setting.
Save the page.
The template must be available in your published theme to assign it to the live page.
Add a floating chat across your store
Before editing theme files, duplicate your theme so you have a backup.
Open the code editor. Under Online Store → Themes, open the theme’s … menu and select Edit code.
Find the main layout. Open Layout → theme.liquid.
Insert the chatbot. Paste the complete floating chat installation code immediately before </body>.
Save the file. > The launcher will appear on storefront pages that use this layout. This method does not install the chatbot into Shopify checkout.
If you edited an unpublished theme, preview it first and publish that theme when you’re ready to make the chatbot live.
Add a floating chat to selected pages
Use the Custom Liquid method above with your floating chatbot code. The section holds the snippet, while your chosen layout displays the launcher.
Assign a dedicated template if you need to restrict the chat to particular pages. Avoid adding the same chatbot through both Custom Liquid and theme.liquid.
Add an embedded chat to product pages
In an Online Store 2.0 theme, open the relevant Products template in the theme editor. Add a Custom Liquid section, paste the embedded chat code, and position it near the product information.
This placement applies to products assigned to that template. Create and assign a separate product template if only certain products need chat.
For example, a product that requires sizing or compatibility checks could include the conversation below its specifications. Add a short introduction such as: “Ask about fit, compatibility, or delivery.”
Install chat in an older Shopify theme
Some Vintage themes provide Custom Content → Custom HTML instead of Custom Liquid. Where available, add the HTML block, paste your chatbot code, set the container width to 100%, and save.
Available sections vary by theme and page type. If your older theme doesn’t offer a suitable block, send its name and your preferred placement to support.
Test the chatbot on your live store
Open your storefront in a private browser window. Visit the home page, a collection, and several products to check where the chatbot appears.
Confirm that:
- Shoppers can send messages and receive complete answers.
- The embedded chat fits its section on desktop and mobile.
- The launcher leaves product options, Add to cart, and cart controls accessible.
- Product links and other configured actions lead to the right destination.
- Pages sharing a template display the chatbot as intended.
Try practical questions such as “What’s the difference between these two products?” or “What is your return policy?”
If the answers need more detail, update the relevant information in AI Chatbot and test again.
Fix common installation issues
The chatbot appears on more pages than expected. Check which pages or products share the edited template.
The live store doesn’t show your changes. Confirm that you edited the published theme, or publish the theme you prepared.
Two launchers appear. Look for duplicate snippets in Custom Liquid sections and theme.liquid.
The chatbot disappears after changing themes. Add the installation to the new theme and check its placement again.
Need help?
Free installation assistance is available. Send the support team your store URL, theme name, and preferred placement. Specify whether you want an embedded conversation on certain pages or floating chat throughout the storefront.