
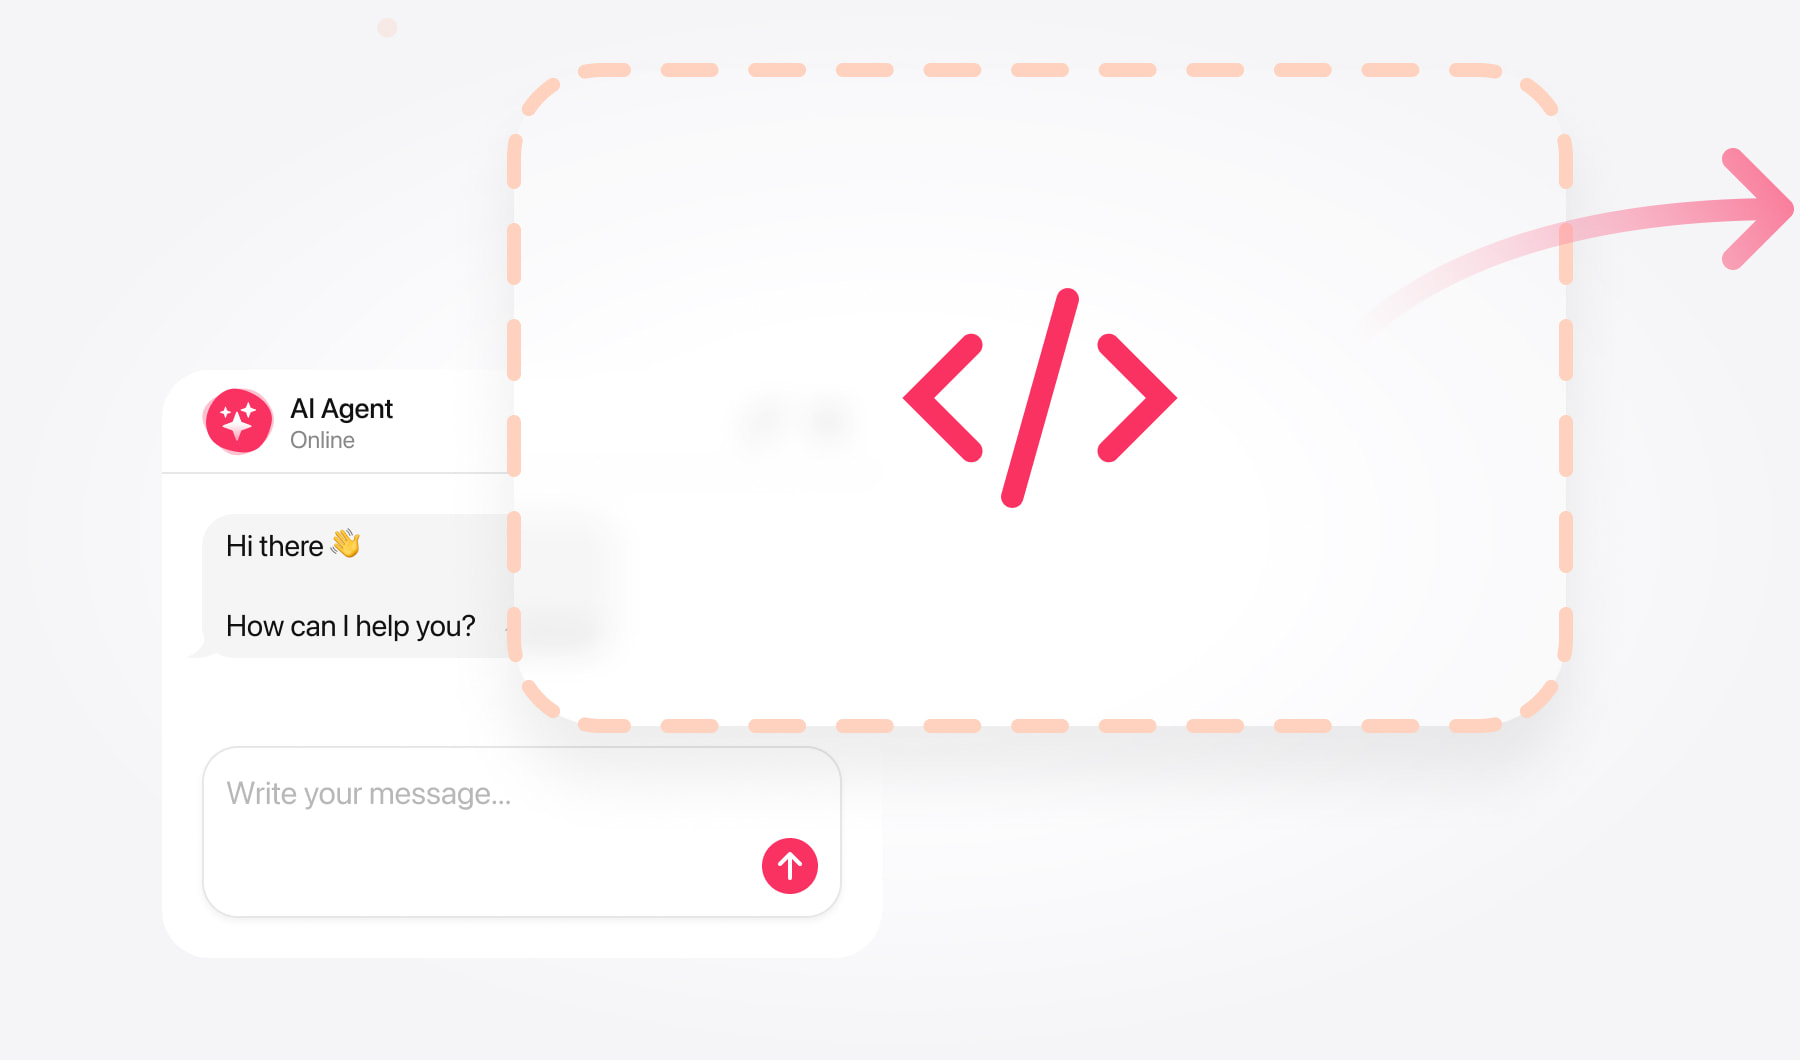
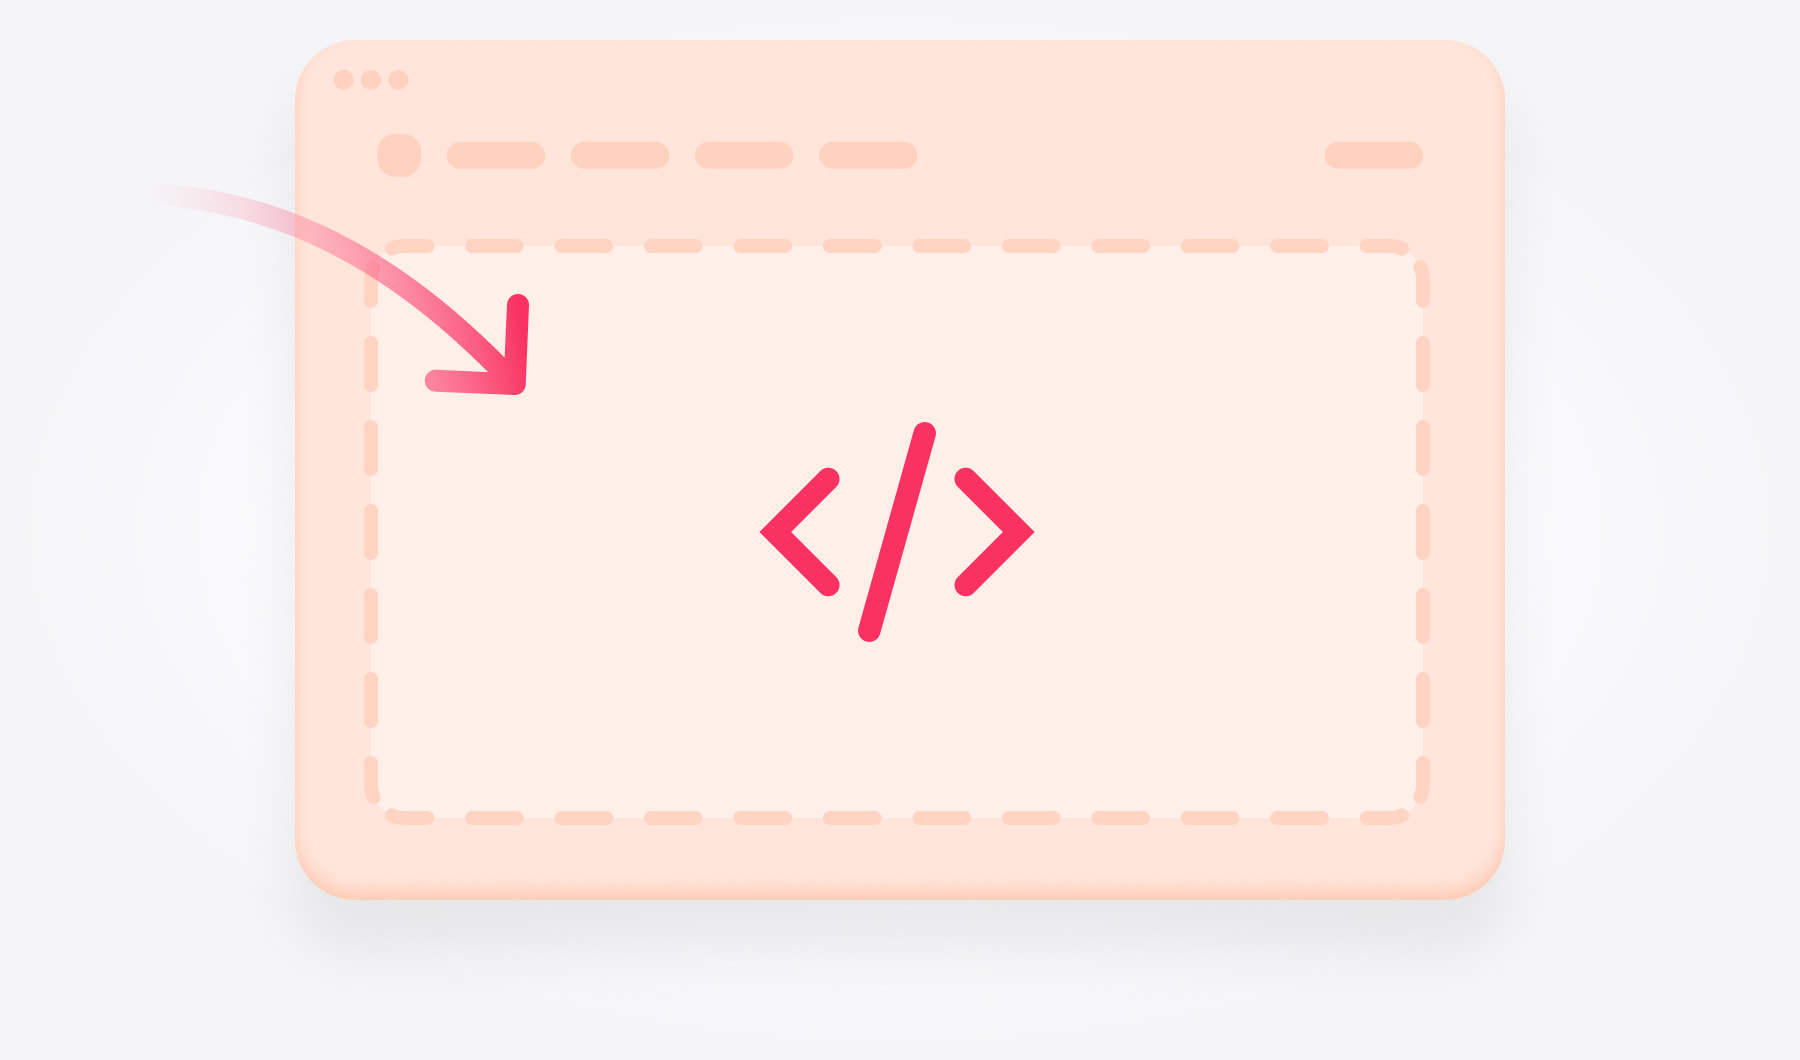
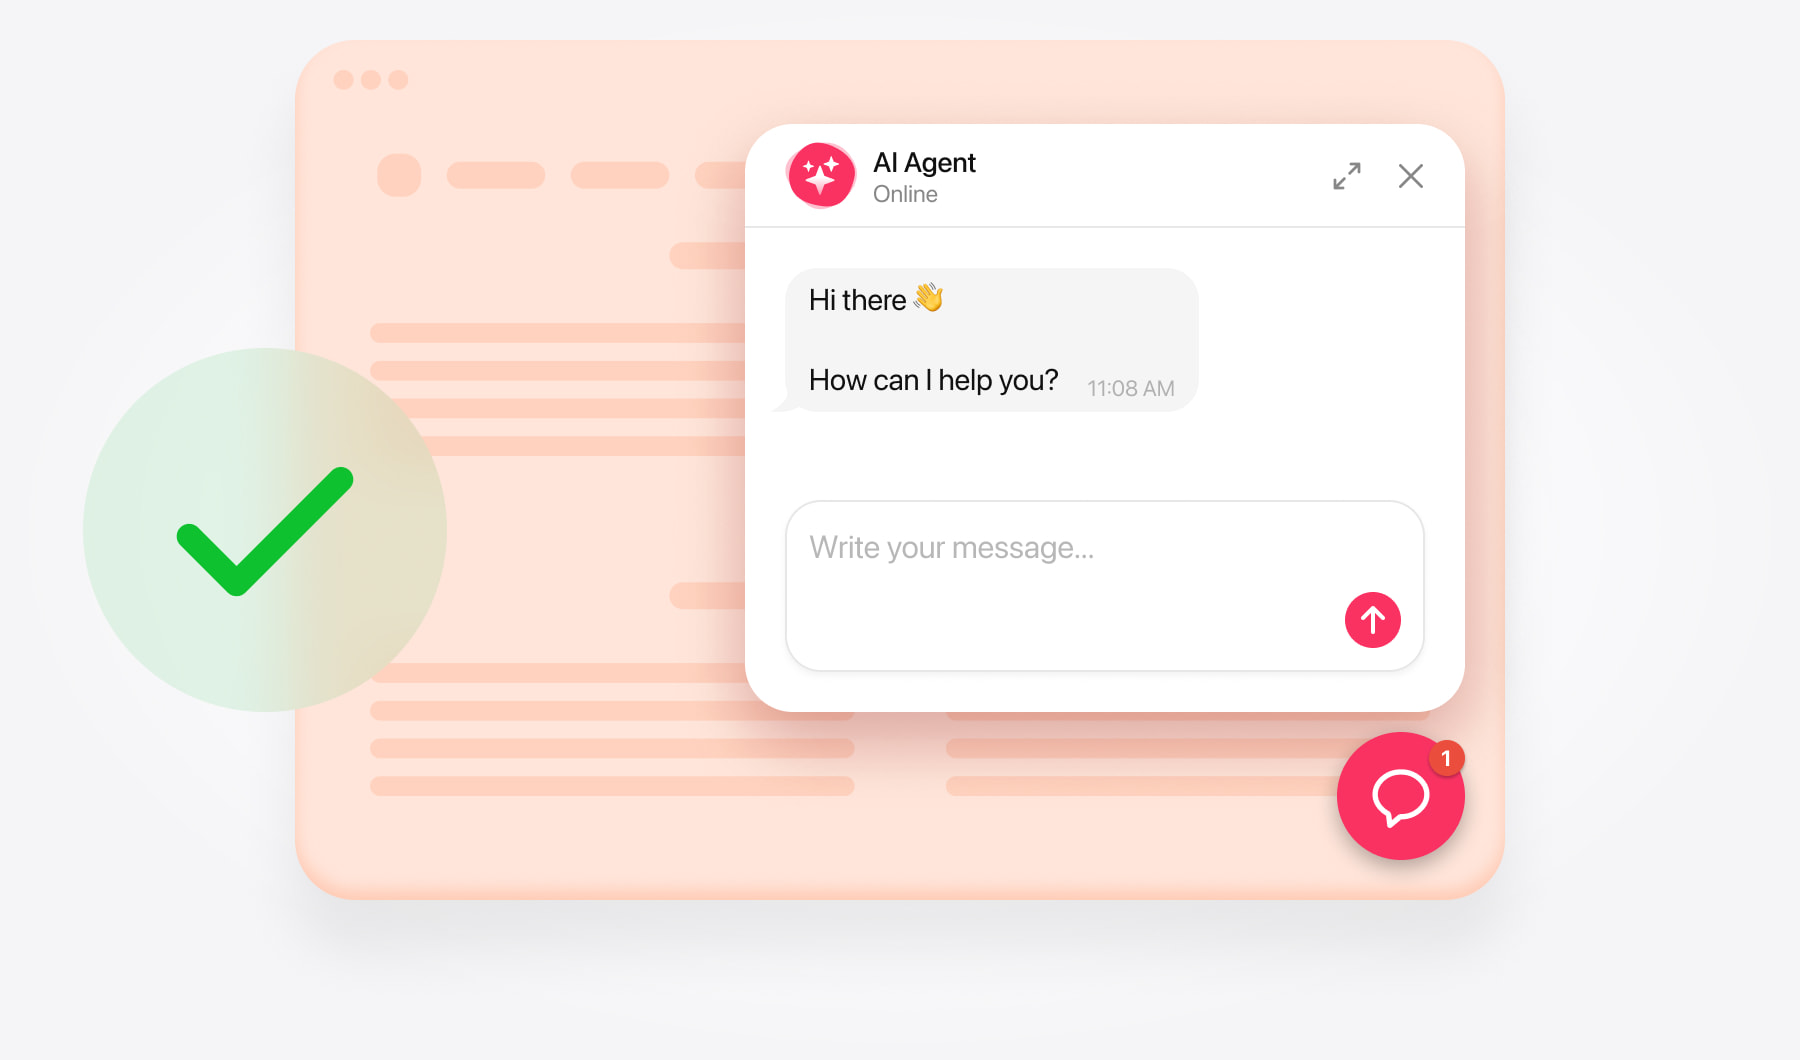
Create your chatbot and copy its code
You’ll need access to your store’s modules, layouts, or theme editor. Available options may vary depending on your OpenCart version and theme.
Open the AI Chatbot editor and enter your store’s website address. Review the generated knowledge, add missing product or policy information, and test the chatbot’s answers.
Customize its appearance and choose a layout:
- Embedded chat window — appears within your page content.
- Floating chatbot — stays accessible through a chat launcher as shoppers browse.
Save your chatbot and copy its complete installation code from the dashboard. Use this code in your chosen installation method below.
Add AI Chatbot as a floating chat
Use floating chat when you want shoppers to ask questions without leaving the page they’re browsing.
Add floating chat across your storefront
Open the theme editor. Go to Design → Theme Editor.
Find the footer. Open common → footer.twig for your active theme.
Insert your chatbot. Paste the complete floating chatbot code before the opening <footer> tag.
Save. Open the live storefront to check the launcher.
This placement covers pages that load that footer. Check any custom checkout or landing pages separately.
Add floating chat to selected pages
Use the HTML Content module method below with your floating chatbot code. Assign the module only to the relevant layouts.
Avoid installing the same chatbot through both a module and the shared footer.
Add AI Chatbot as an embedded chat
Open modules. Go to Extensions → Extensions and select Modules.
Create an HTML Content module. Name it “AI Chatbot.”
Insert the code. In Description, switch to source/code view and paste the complete embedded chat snippet.
Enable and save. Set Status to Enabled.
Assign its placement. Open Design → Layouts, edit the required layout, choose a position, and add your AI Chatbot module.
Save the layout.
Check which pages use the layout
An OpenCart layout can apply to several pages. Adding the chatbot to a Product layout, for example, may display it across multiple product pages.
If you want the chatbot on one particular product or content page, check whether that page supports a dedicated layout override. Ask your developer to configure the assignment if needed.
To display embedded chat more widely, add the saved module to each intended layout.
Check the embedded chat’s position
Choose a position with enough room for the conversation. A main content area usually gives shoppers more space than a narrow sidebar.
On a delivery or returns page, introduce the chat with a short instruction such as: “Ask about shipping, returns, or choosing a product.”
Check that shoppers can read responses and reach the message input on both desktop and mobile.
Test your AI Chatbot installation
Open your live store in a new or private browser window and check that:
- The chatbot loads and shoppers can send and receive messages.
- The floating launcher appears on the intended pages.
- The embedded chat appears in the correct layout position.
- The launcher doesn’t overlap the cart, navigation, or cookie controls.
- Product links, contact buttons, and other configured actions work correctly.
- The layout is usable on desktop and mobile.
Test a few questions your shoppers might want to ask. If an answer is incomplete, review the relevant knowledge source and add the missing details.
If the chatbot doesn’t appear
For module installation, check that the module is enabled and assigned to the layout actually used by the page.
For footer installation, confirm that you edited the active theme. If the live store still shows an older version, ask your administrator to clear the relevant theme or page cache.
If your theme doesn’t provide the controls described above, contact support with your OpenCart version and theme name.
Need help with installation?
Contact the support team with your store’s URL and explain whether you want a floating chatbot across the storefront or an embedded chat on selected pages.
Free installation assistance is available.