
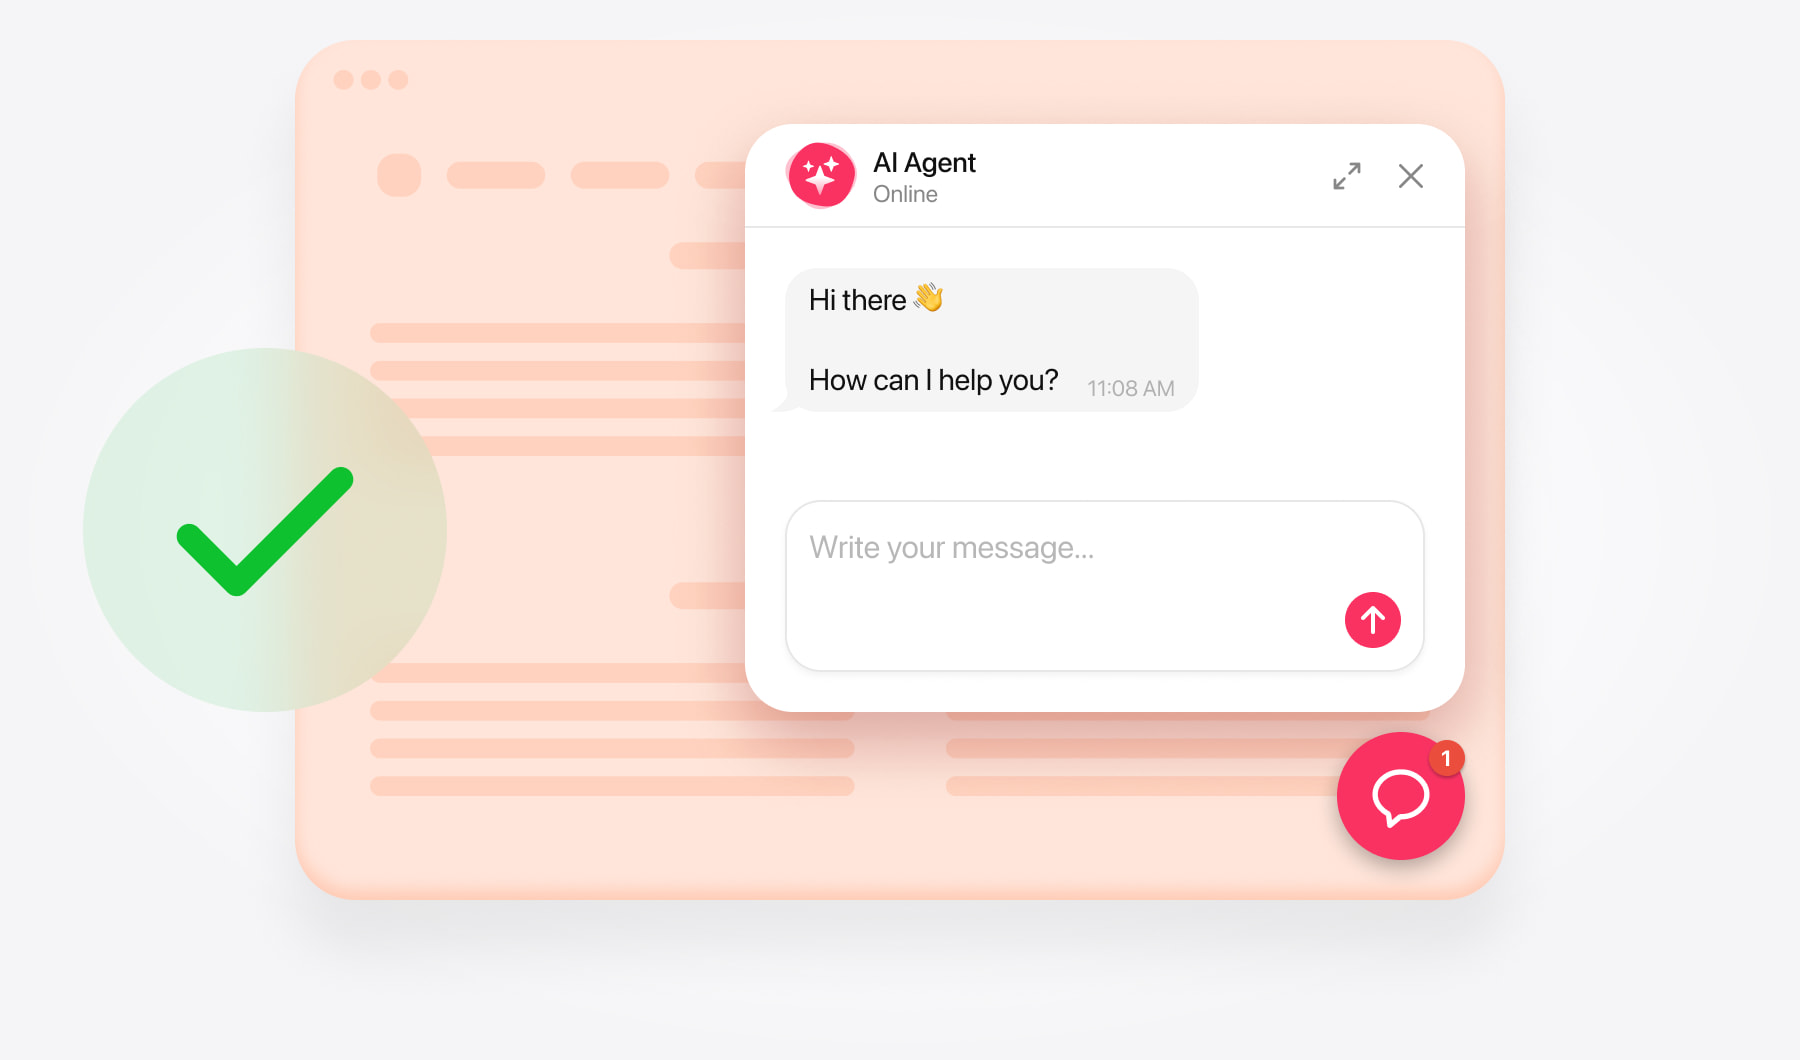
Create your chatbot and copy its code
This guide covers Magento 2 stores with a standard storefront and access to design settings or Page Builder. Custom or headless storefronts may require installation by your developer.
Open the AI Chatbot editor and enter your store’s website address. Review the generated knowledge, add missing product or policy information, and test the chatbot’s answers.
Customize its appearance and choose a layout:
- Embedded chat window — appears within your page content.
- Floating chatbot — stays accessible through a chat launcher as shoppers browse.
Save your chatbot and copy its complete installation code from the dashboard. Use this code in your chosen installation method below.
Add AI Chatbot as a floating chat
Use floating chat when you want shoppers to ask questions without leaving the page they’re browsing.
Add floating chat across your storefront
Open design settings. Go to Content → Design → Configuration.
Choose your store view. Find the relevant row and click Edit.
Open the footer settings. Under Other Settings, expand Footer.
Add your chatbot code. Paste the complete installation snippet into Miscellaneous HTML, keeping any existing code.
Save. Click Save Configuration and check the live storefront.
Confirm that you selected the intended store view, especially if your Magento installation serves multiple stores or languages.
Checkout pages may require your developer to allow the chatbot’s scripts through Magento’s Content Security Policy. Test checkout separately if you want the chatbot available there.
Add floating chat to a selected content page
Use the Page Builder steps below with your floating chatbot installation code. The HTML Code element holds the snippet, while your chosen layout displays the launcher.
Choose either page-level or storefront-wide installation for the same chatbot to avoid duplicates.
Add AI Chatbot as an embedded chat
Open the page. Go to Content → Elements → Pages, find the target page, and select Edit.
Launch Page Builder. Expand Content and click Edit with Page Builder.
Add an HTML element. Under Elements, drag HTML Code into the desired row or column.
Insert your chatbot. Open the element’s settings and paste the complete embedded chat installation code.
Save the element. Click Save to return to Page Builder.
Save the page. Exit Page Builder, ensure Enable Page is set to Yes, and save your changes.
If your store uses a different content editor, ask your developer or the support team where it accepts HTML and JavaScript snippets.
Check the embedded chat’s position
Place the chat where shoppers are likely to need answers. A buying guide, delivery information page, or dedicated support page can give the conversation a clear purpose.
Introduce it with a short instruction, such as: “Ask about product details, delivery, or returns.”
Check that the surrounding layout gives the chat enough room. On mobile, make sure shoppers can read responses and reach the message input without scrolling sideways.
Test your AI Chatbot installation
Open your live store in a new or private browser window and check that:
- The chatbot loads and shoppers can send and receive messages.
- The floating launcher appears on the intended pages and store views.
- The embedded chat interface is fully visible.
- The launcher doesn’t overlap the cart, navigation, or cookie controls.
- Product links, contact buttons, and other configured actions work correctly.
- The layout is usable on desktop and mobile.
Test a few questions your shoppers are likely to ask: “What are your delivery options?” or “Can I return an item?”
If an answer is incomplete, review the relevant knowledge source and add the missing information.
If the chatbot doesn’t appear
Check that you saved the code in the correct store view or enabled content page. If Magento reports that caches need refreshing, ask your administrator to refresh the affected caches and test again.
If the code is present but the chatbot still doesn’t load, ask your developer to check for blocked scripts or Content Security Policy errors.
Need help?
Contact the support team with your store’s URL, Magento version, and theme name. Explain whether you want a floating chatbot across the storefront or an embedded chat on a particular page.
Free installation assistance is available.