
Create your chatbot and copy its code
These instructions apply to Jimdo Creator. The separate Jimdo Website Builder doesn’t support custom HTML or external widgets, so AI Chatbot cannot be embedded there.
Open the AI Chatbot editor and enter your website address. Review the generated knowledge, add missing information, and test the chatbot’s answers.
Customize its appearance and choose a layout:
- Embedded chat window — appears within your page content.
- Floating chatbot — stays accessible through a chat launcher.
Save your chatbot and copy its complete installation code from the dashboard. Use this code in your chosen installation method below.
Add AI Chatbot as a floating chat
Use floating chat when you want visitors to ask questions without leaving the page they’re browsing.
Add floating chat to a selected page
Open your website. In your Jimdo dashboard, select your project and click Actions → Edit.
Choose the page. Use a content section that belongs only to that page, rather than a shared footer.
Add a code element. Click Add Element → More Elements and Add-ons → Widget / HTML.
Insert your chatbot. Paste the complete floating chatbot installation code and click Save.
The element holds the installation code. Your chatbot’s floating layout determines how the launcher appears.
Add floating chat across your website
For site-wide installation, AI Chatbot provides a Jimdo-specific script.
Open the head settings. In Jimdo, go to Menu → Settings → Edit Head.
Paste this script. Keep any existing code in the field.
```javascript
<script src="https://elfsightcdn.com/platform.js" defer="defer"></script>
<script type="text/javascript">
//<![CDATA[
window.onload = () => {
const footer = document.querySelector("#contentfooter")
const widget = document.createElement("div")
widget.classList.add("elfsight-app-WIDGET_ID")
console.log(widget, " widget")
console.log(footer, " footer")
footer.append(widget)
}
//]]>
</script>
```
Enter your chatbot’s ID. Replace only WIDGET_ID with the value that follows elfsight-app- in the installation code copied from your AI Chatbot dashboard. Keep the elfsight-app- prefix.
Save and test. Save your changes, then open your live website in a private browser window. Visit several pages to confirm that the floating launcher appears.
Use this method once. Remove any earlier page-level installation of the same chatbot to avoid duplicates.
Add AI Chatbot as an embedded chat
Open the target page. Enter your Jimdo Creator website’s edit mode.
Choose the position. Hover over the content area where you want the chat.
Add a widget element. Select Add Element → More Elements and Add-ons → Widget / HTML.
Paste your code. Insert the complete embedded chat installation code and click Save.
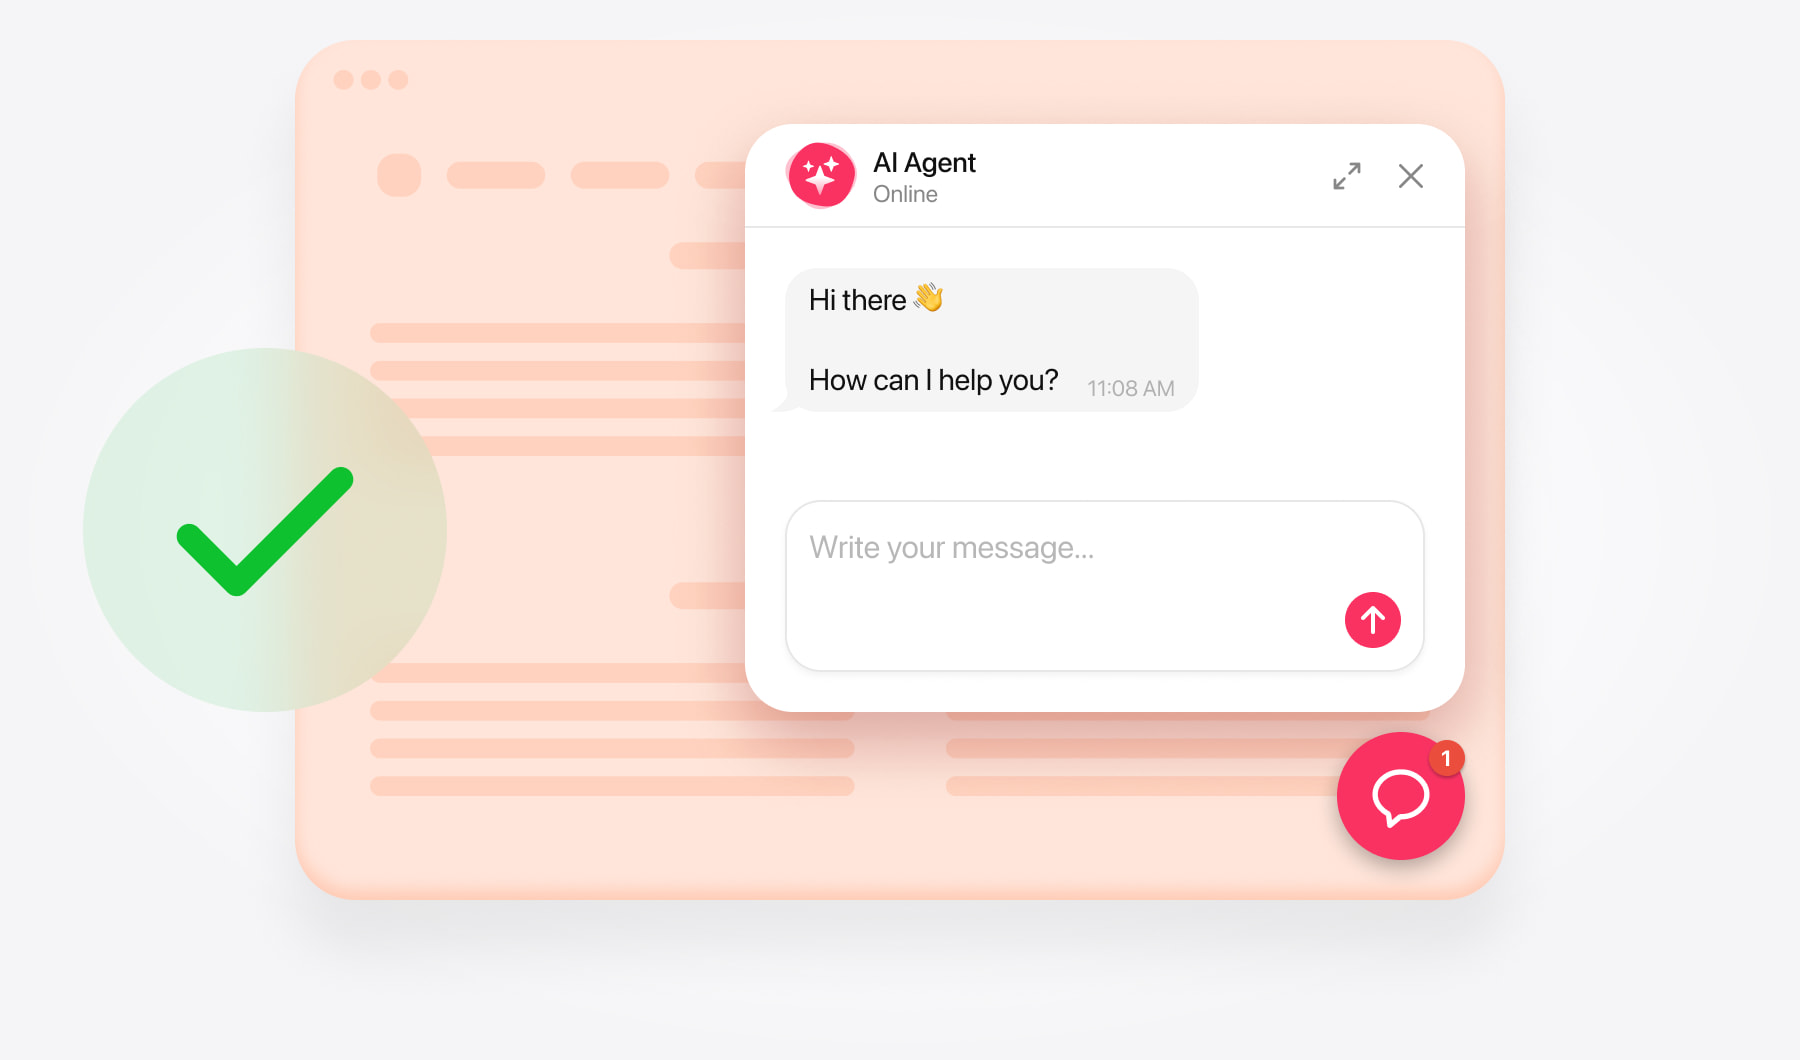
Check the live page. Open it outside the editor to confirm the chatbot appears.
Check the embedded chat’s position
Give the chat enough space for visitors to read responses and type comfortably. A full-width section on a contact or support page is a useful starting point.
Introduce it with a short instruction, such as: “Ask about our services, prices, or how to get started.”
If you want the embedded chat on every page, place its Widget / HTML element in a shared section, such as an editable footer. Remember that the full chat window will occupy space in that section on each page.
Test your chatbot installation
Open your live website in a new or private browser window and check that:
- The chatbot loads and visitors can send and receive messages.
- The floating launcher appears on the intended pages.
- The embedded chat interface is fully visible.
- The launcher doesn’t overlap navigation or cookie controls.
- Links, contact buttons, and other configured actions work correctly.
- The layout is usable on desktop and mobile.
Try asking a few questions your visitors might be interested in. If an answer is incomplete, review the relevant knowledge source and add the missing details.
If the chatbot doesn’t appear, refresh the live page and check that the code was saved. For the site-wide method, make sure you replaced WIDGET_ID with your own chatbot’s ID.
Need help with installation?
Contact the support team with your website’s URL and explain whether you want a floating chatbot across your Jimdo Creator site or an embedded chat on a particular page.
Free installation assistance is available.