
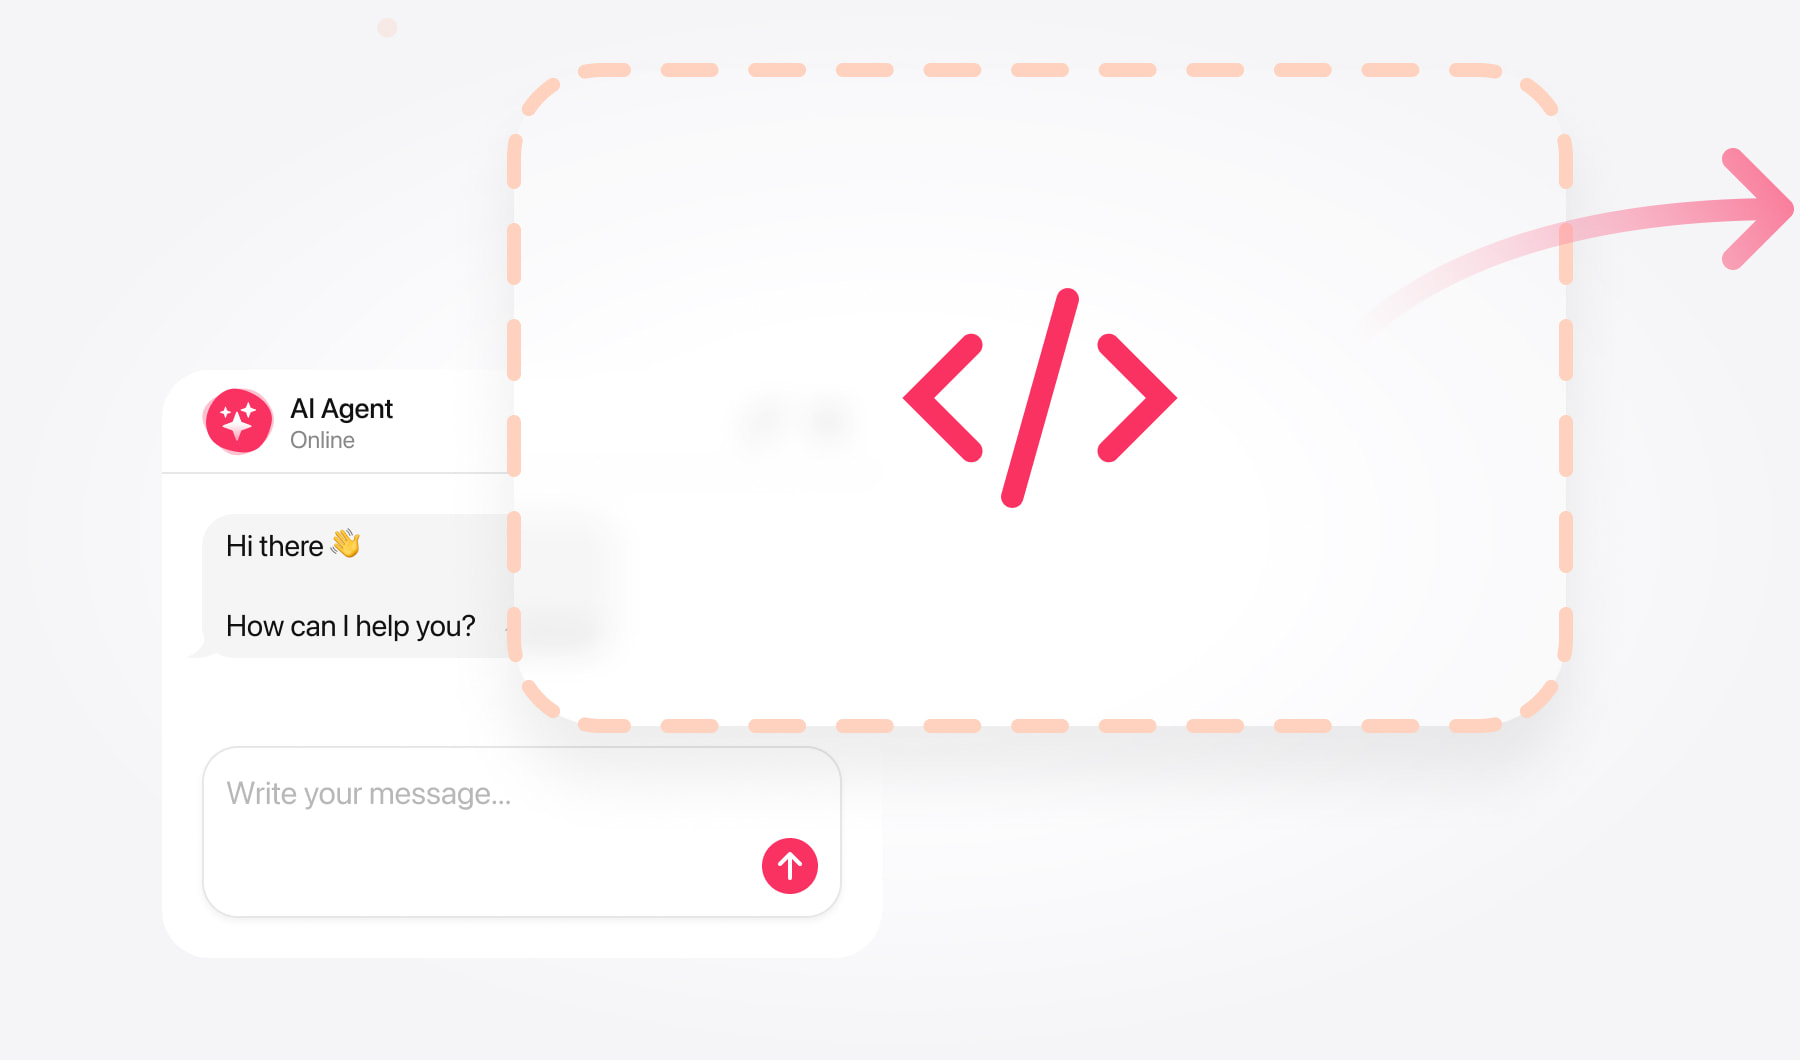
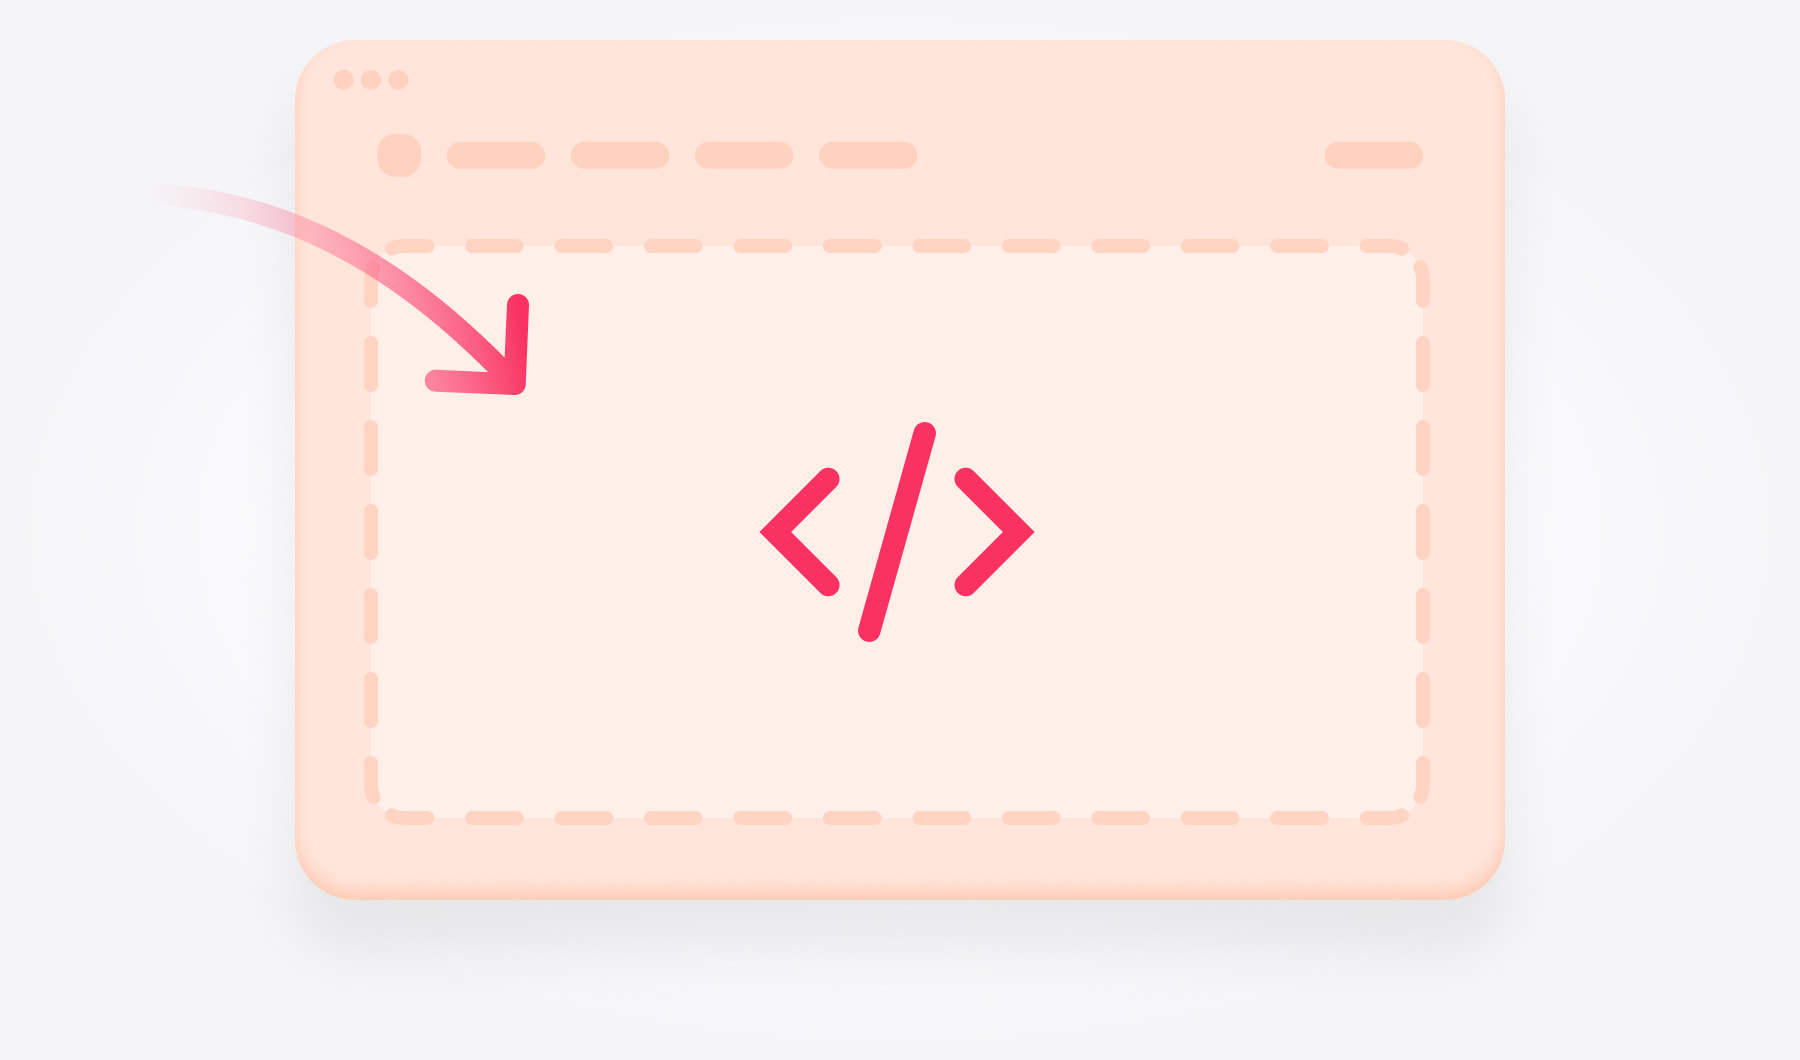
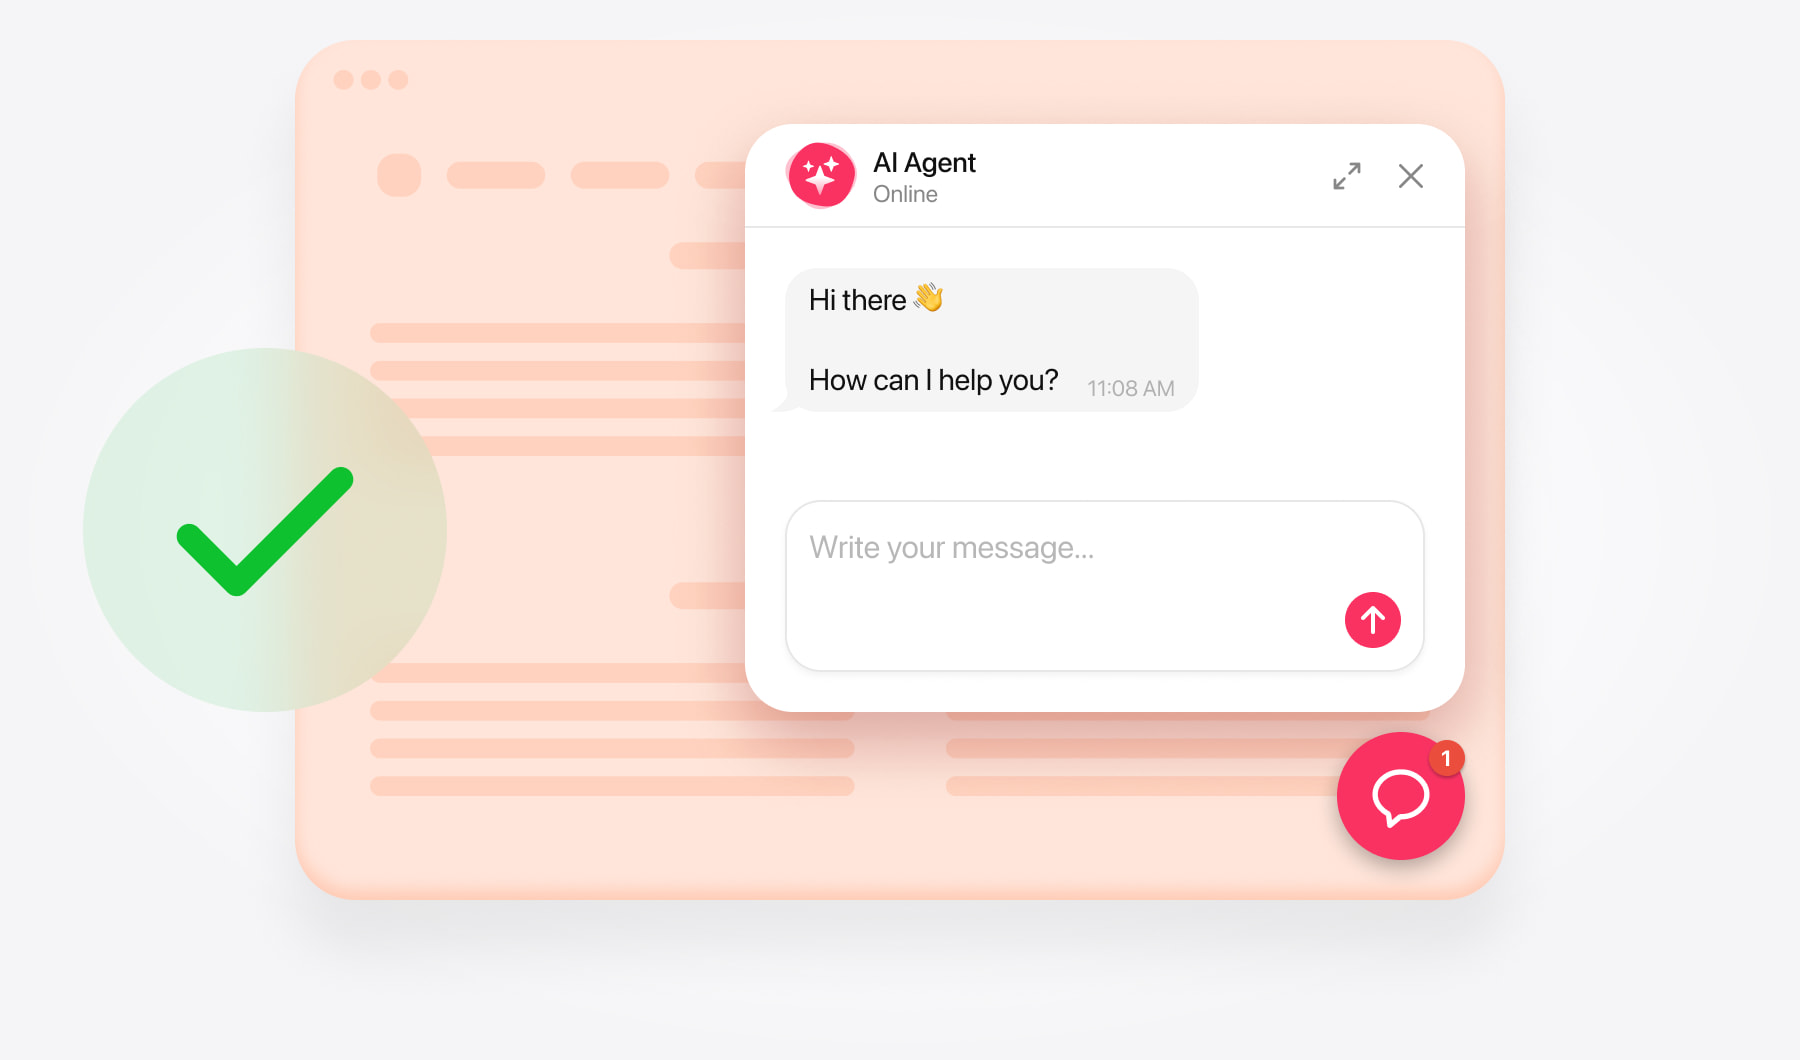
Create your chatbot and copy its code
Google Sites supports embedded widgets within page content. Floating chat launchers and popup widgets aren’t supported.
Open the AI Chatbot editor and enter your website address. Review the generated knowledge, add missing information, and test the chatbot’s answers.
Customize its appearance and select the embedded chat window layout. This displays the conversation directly on the page.
Save your chatbot and copy its complete installation code from the dashboard.
Add AI Chatbot using embed code
Open your website. Sign in to Google Sites and select your site.
Choose a page. Open Pages and select where you want the chatbot.
Add an embed. Click Insert → Embed in the right sidebar.
Paste your code. Select Embed code, paste the complete installation snippet, and click Next → Insert.
Adjust the block. Move it into position and drag its borders to set the width and height.
Publish. Click Publish to make the changes live.
Check the embedded chat’s position
Give the chatbot enough space for visitors to read answers and type comfortably. A wide section below a short introduction is a useful starting point.
For example, on a contact page, introduce the chat with: “Ask about our services, opening hours, or how to get started.”
Check that the message input remains visible and usable on both desktop and mobile. If the chat appears cut off, increase the embed block’s height and test again.
Add AI Chatbot using a share link
You can also embed the chatbot using its hosted share link.
Copy the link. In your chatbot’s installation window, open Share Link → Copy Link.
Open the target page. In Google Sites, select it under Pages.
Insert the link. Choose Insert → Embed → By URL and paste it.
Choose the display. Select Whole Page, then click Insert.
Resize and publish. Adjust the block’s dimensions and click Publish.
Use either the installation code or the share link for each placement to avoid displaying the same chatbot twice.
Add your chatbot to other pages
Google Sites requires you to add the embed to each page individually. Repeat your chosen method wherever you want the chatbot available.
Prioritize pages where visitors are likely to have questions, such as services, FAQs, or contact information. You can also create a dedicated “Ask us” page and link to it from your navigation.
Test your chatbot installation
Open your published website in a new or private browser window and check that:
- The chatbot loads and visitors can send and receive messages.
- It appears on the intended pages.
- The conversation and message input are fully visible.
- Links, contact buttons, and other configured actions work correctly.
- The layout is usable on desktop and mobile.
Test a few questions your visitors are likely to ask: If an answer is incomplete, review the relevant knowledge source and add the missing details.
If the chatbot doesn’t appear, check that you copied the complete installation code or correct share link and published your latest changes.
Need help?
Contact the support team with your website’s URL and the page where you want the chatbot. If the chat looks cut off or doesn’t load, include a screenshot so the team can check the issue.
Free installation assistance is available.