
Create your chatbot and copy its code
Open the AI Chatbot editor and enter your website address. Review the generated knowledge, add missing information, and test the chatbot’s answers.
Customize its appearance and choose a layout:
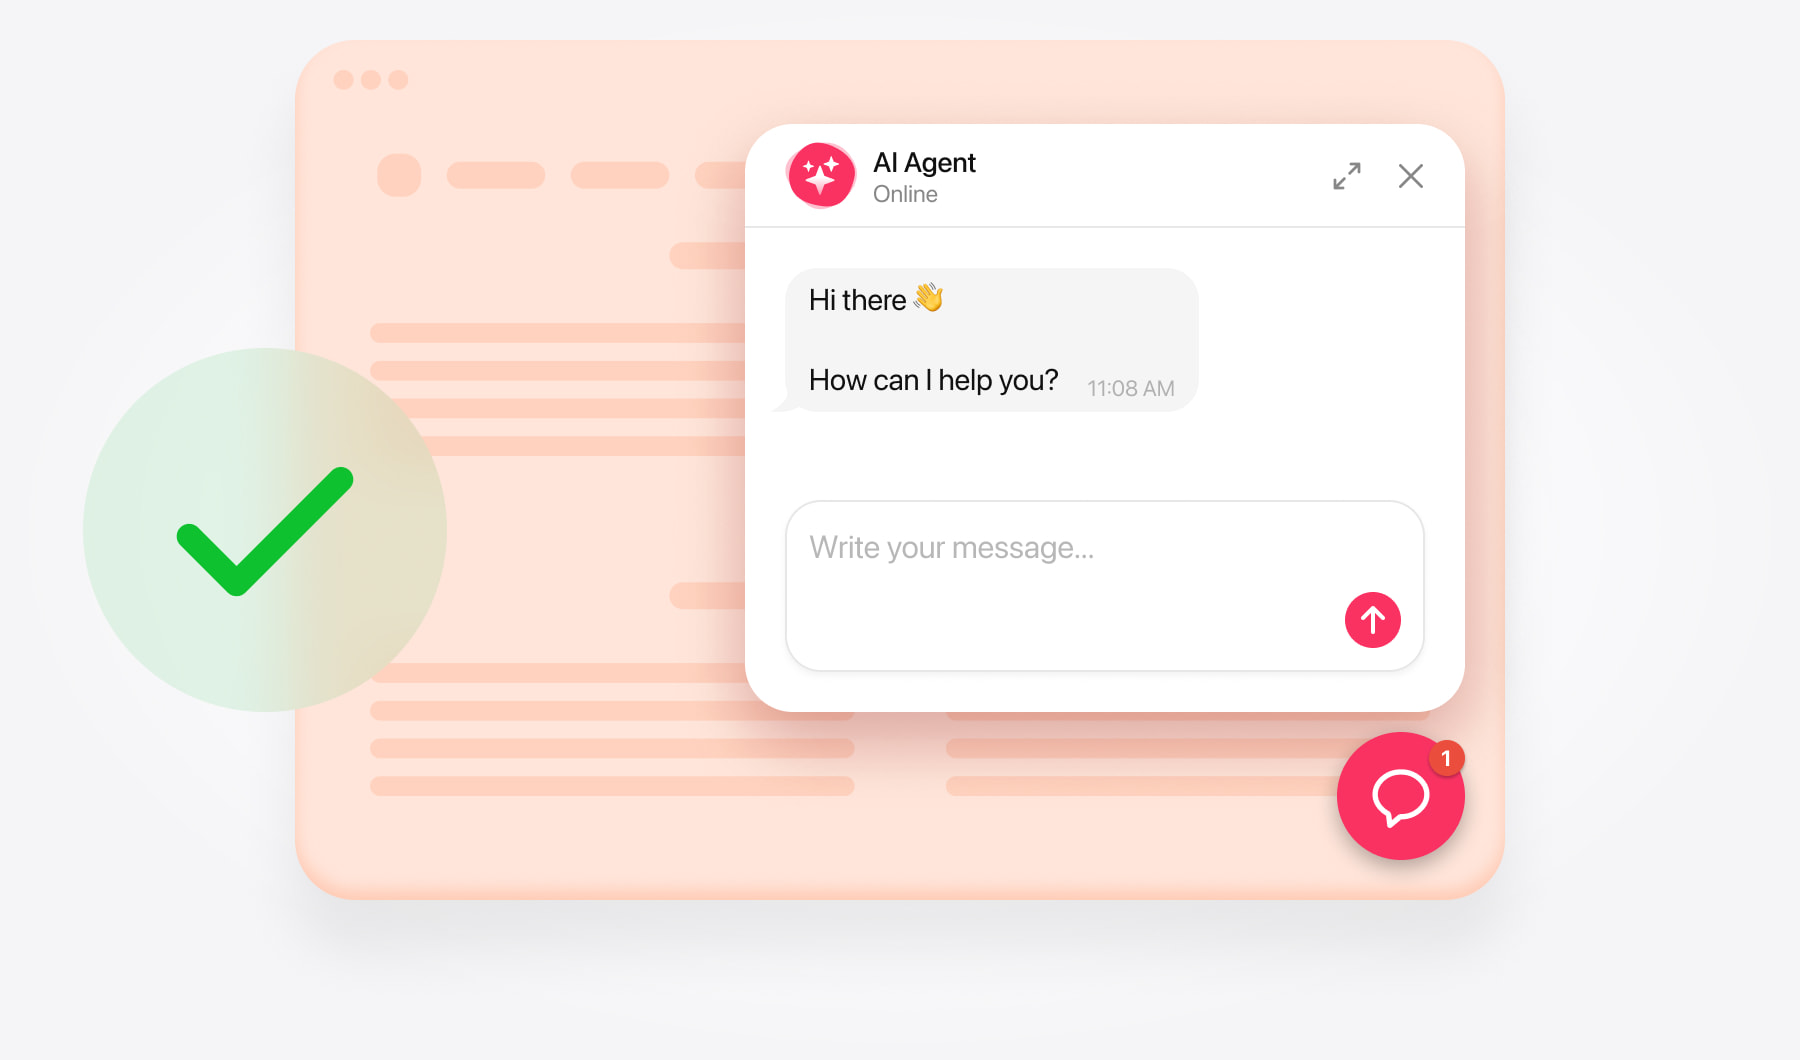
- Embedded chat window — appears within your page content.
- Floating chatbot — stays accessible through a chat launcher as visitors browse.
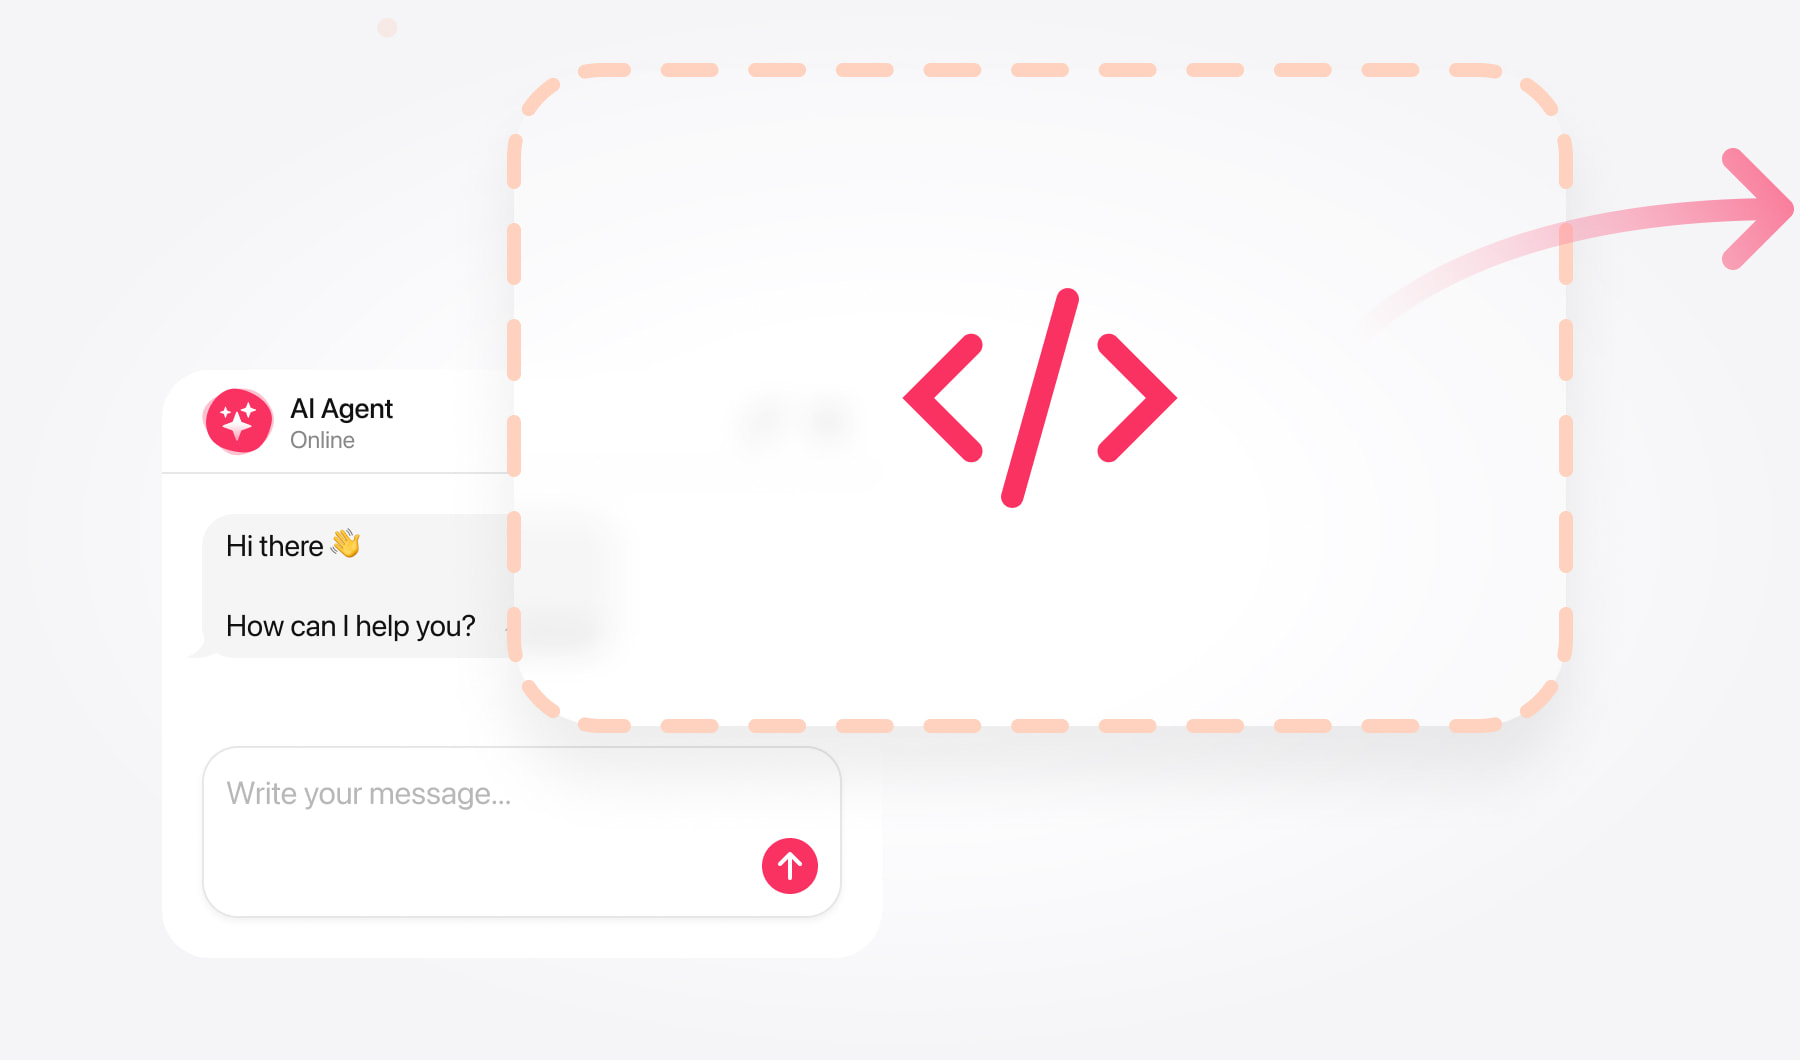
Save your chatbot and copy its complete installation code from the dashboard. Use this code in your chosen installation method below.
Add AI Chatbot as a floating chat
Use floating chat when you want visitors to ask questions without leaving the page they’re browsing.
Add floating chat across your website
This method uses Elementor’s Custom Code feature. You’ll need an Elementor plan that includes it.
Open the code settings. In WordPress, go to Elementor → Editor → Custom Elements → Code, then select New code. In some versions, the path is Elementor → Custom Code → Add New.
Name the snippet. Enter a recognizable title, such as “AI Chatbot floating chat.”
Choose the location. Select <body> – End.
Insert your code. Paste the complete floating chatbot installation code into the code editor.
Set display conditions. Open the publishing conditions and select Include → Entire Site.
Publish. Save the conditions and publish the snippet.
Open several live pages to check that the launcher appears where expected.
Add floating chat to selected pages
If you use Custom Code, change its display conditions to include only the pages you want.
Alternatively, install it directly on an individual page:
Go to Pages in WordPress and click Edit with Elementor for the target page.
Find Elementor’s HTML widget and drag it into the page.
Paste the complete floating chatbot code into the HTML Code field.
Click Publish or Update.
The HTML widget loads the code; your floating layout determines the launcher’s position.
Choose either site-wide installation or individual page installation to avoid loading the same chatbot twice.
Add AI Chatbot as an embedded chat
Open your page. In WordPress, go to Pages and select Edit with Elementor.
Choose the position. Find the section or container where the chat should appear.
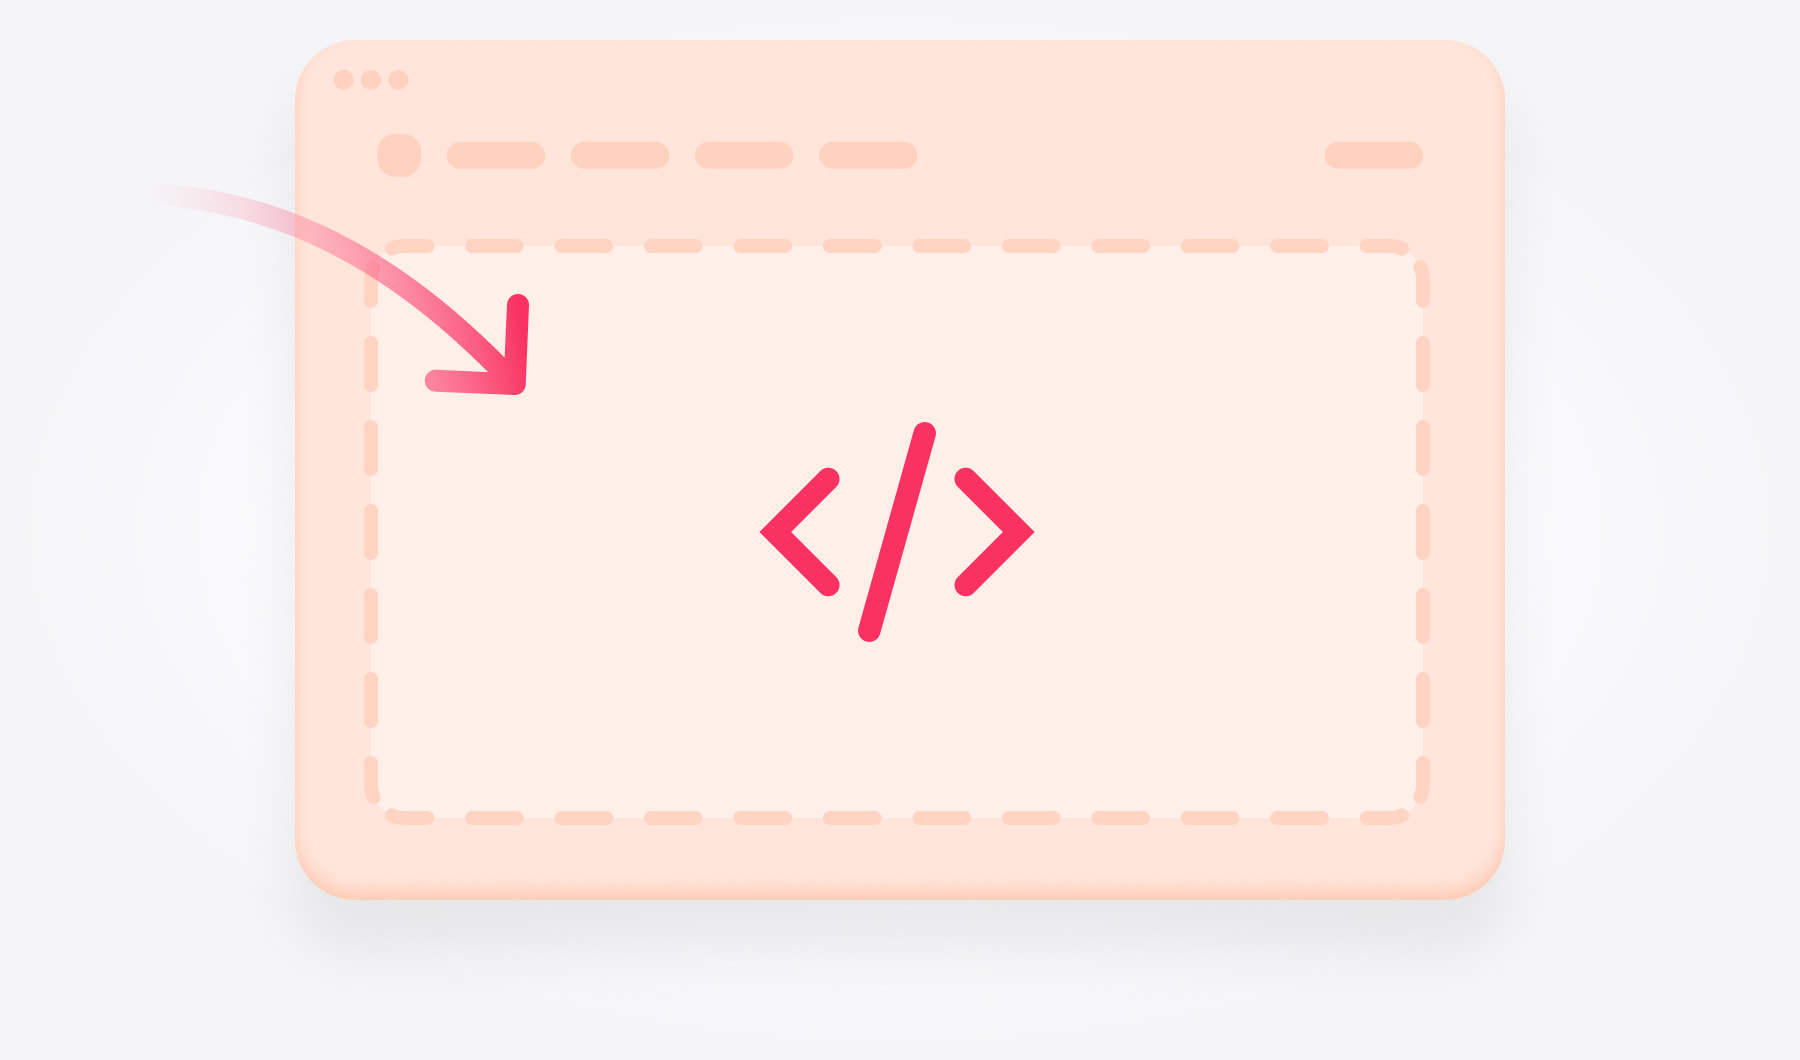
Add the HTML widget. Search for HTML in Elementor’s widget panel and drag it into that position. Use Elementor’s HTML widget with the </> icon.
Paste your code. Insert the complete embedded chat installation code into the HTML Code field.
Save the page. Click Publish or Update, then open the live page.
If the HTML widget is unavailable, ask your website administrator to check your Elementor permissions.
Check the embedded chat’s position
Place the chatbot where it supports the page’s purpose. For example, add it below your service information or after a short introduction on a support page.
Adjust the surrounding container’s width and spacing so the chat is comfortable to use. Check that the full interface remains visible on mobile and that the widget or its parent container isn’t hidden on smaller screens.
Test your chatbot installation
Open your live website in a new or private browser window and check that:
- The chatbot loads and visitors can send and receive messages.
- The floating launcher appears on the intended pages.
- The embedded chat interface is fully visible.
- The launcher doesn’t overlap menus, cookie notices, or other controls.
- Links, contact buttons, and other configured actions work correctly.
- The layout is usable on desktop and mobile.
Test a few questions your visitors might ask. If the chatbot doesn’t appear, confirm that the page or code snippet is published and that its display conditions include the page you’re testing. If an answer is incomplete, add the missing details to the chatbot’s knowledge.
Need help with installation?
Contact the support team with your website’s URL and explain whether you want a floating chatbot across the website or an embedded chat on a particular page. Free installation assistance is available.