
Create your chatbot and copy its code
Open the AI Chatbot editor and enter your blog’s website address. Review the generated knowledge, add missing information, and test the chatbot’s answers.
Customize its appearance and choose a layout:
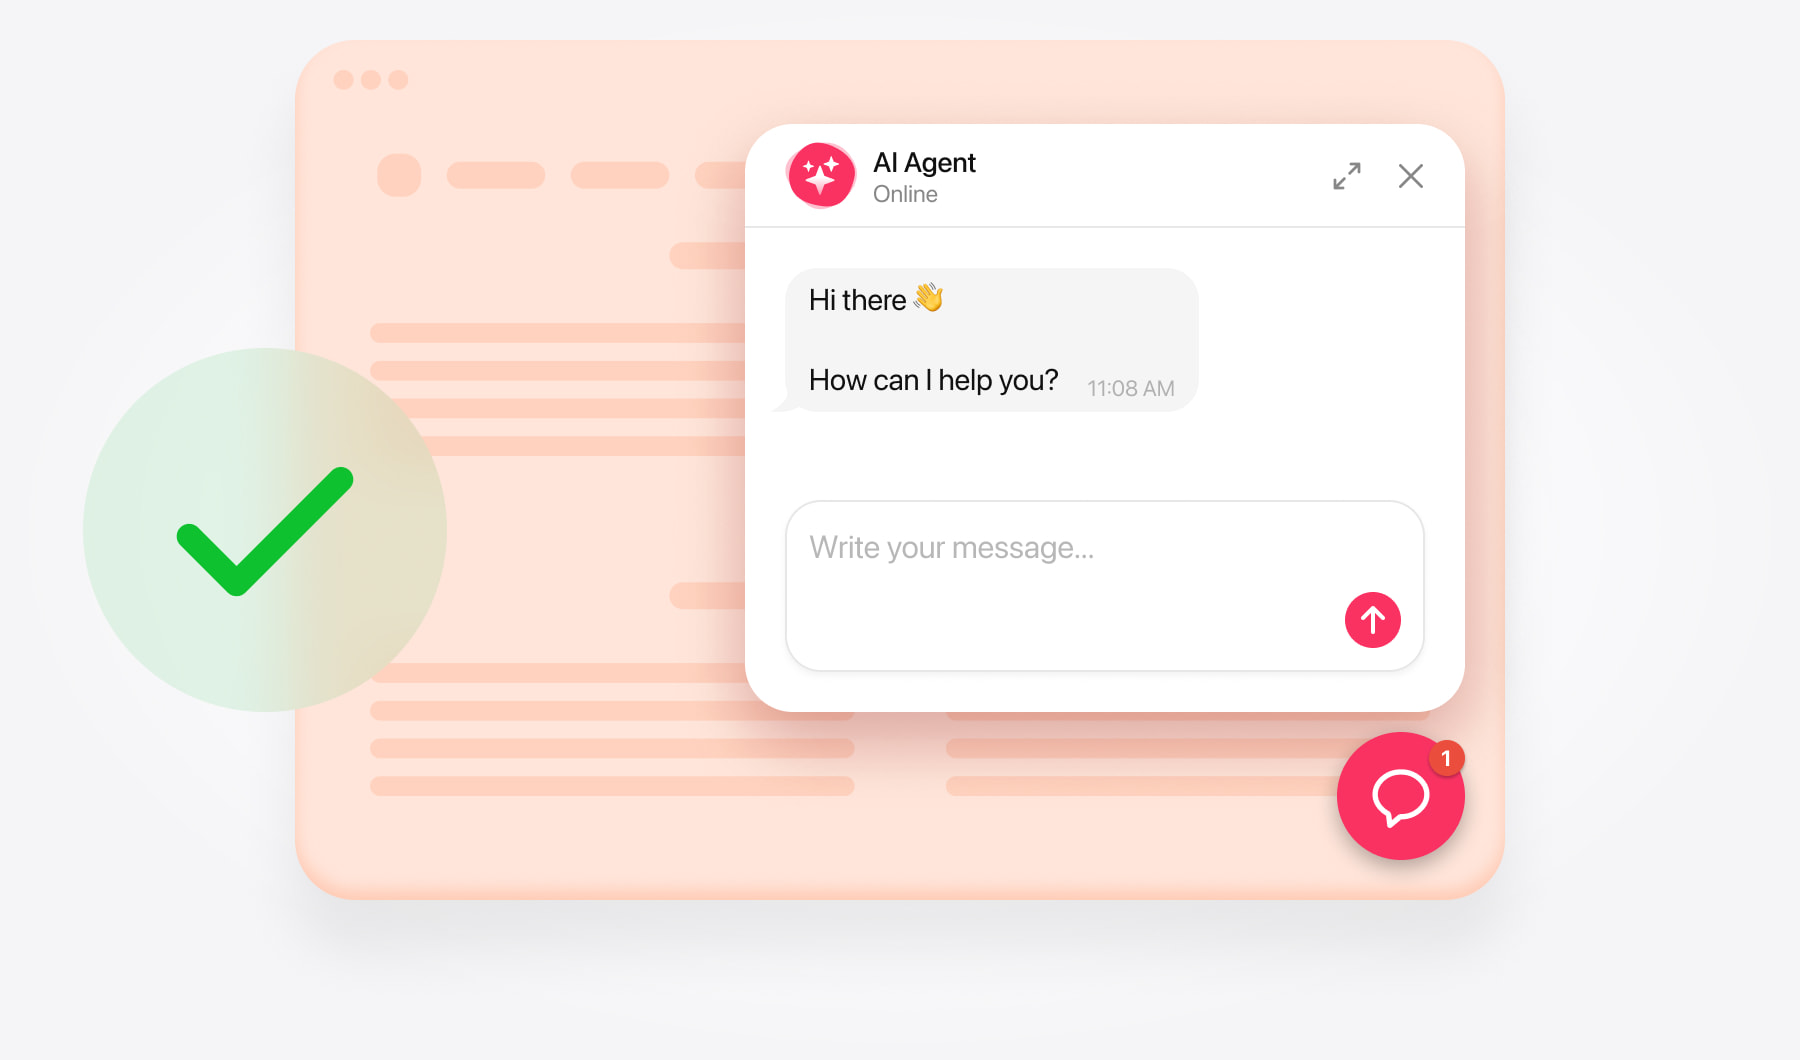
- Embedded chat window — appears within your page content.
- Floating chatbot — stays accessible through a chat launcher as visitors browse.
Save your chatbot and copy its complete installation code from the dashboard. For installation through Blogger’s theme editor, use the adapted code below with your chatbot’s widget ID.
Add AI Chatbot as a floating chat
Use floating chat when you want readers to ask questions without leaving the article or page they’re viewing.
Add floating chat across your blog
Select your blog. Sign in to Blogger and choose the website you want to update.
Open the theme editor. Go to Theme, open the dropdown beside Customize, and select Edit HTML.
Prepare your code. Use the snippet below, replacing WIDGET_ID with the ID from your chatbot’s installation code.
Choose the position. Insert the snippet immediately before the closing </body> tag.
Save. Click the save icon, then open your live blog.
<script data-use-service-core='true' defer='defer' src='https://elfsightcdn.com/platform.js'/>
<div class='elfsight-app-WIDGET_ID'/>
Your widget ID is the value after elfsight-app- in the original installation code. Replace only WIDGET_ID, keeping the elfsight-app- prefix.
Add floating chat to a selected page
Open Pages and select your target page.
Use the editor’s view menu to switch to HTML view.
Append the complete floating chatbot installation code from your dashboard without removing existing content.
Click Update, or Publish for a new page.
Check the published page.
Use this method instead of the site-wide installation if you only want the launcher on selected pages.
Add floating chat to the homepage only
Follow the theme-editor steps above, but use this conditional snippet before </body>:
<b:if cond='data:view.isHomepage'>
<script data-use-service-core='true' defer='defer' src='https://elfsightcdn.com/platform.js'/>
<div class='elfsight-app-WIDGET_ID'/>
</b:if>
Replace WIDGET_ID with your chatbot’s ID and save. Use this snippet instead of the site-wide version.
Add AI Chatbot as an embedded chat
Choose the embedded layout. In AI Chatbot, select an embedded chat window, save your changes, and copy the installation code.
Open your Blogger page. Select Pages, then choose an existing page or create a new one.
Switch to HTML view. Open the editor’s view menu and select HTML view.
Position the chatbot. Insert the complete installation code between the existing content elements where you want the chat to appear.
Publish and check. Save the page with Update or Publish, then open its live URL.
For example, you can place the chatbot below an introduction on your contact page so visitors understand what they can ask.
Check the embedded chat’s position
Make sure the full chat interface is visible and fits comfortably within the page. Avoid placing it in a narrow column if that makes messages difficult to read.
Check the page on both desktop and mobile. If you need an embedded chatbot in a specific position on your blog’s homepage, contact support for assistance with your theme.
Test your chatbot installation
Open your live blog in a new or private browser window and check that:
- The chatbot loads and visitors can send and receive messages.
- The floating launcher appears on the intended pages.
- The embedded chat interface is fully visible.
- The launcher doesn’t overlap navigation, cookie notices, or other controls.
- Content links, contact buttons, and other configured actions work correctly.
- The layout is usable on desktop and mobile.
Test a few questions your readers are likely to ask. If an answer is incomplete, review the relevant knowledge source and add the missing details.
Need help with installation?
Contact the support team with your blog’s URL and explain whether you want a floating chatbot across the website or an embedded chat on a particular page. Free installation assistance is available.